How to Install USAutomatic Linear Actuator to Gate Bracket
Whether you are installing a Patriot or Ranger USAutomatic linear actuator arm, installing the actuator arm to the gate bracket and the gate bracket to the gate is simple. There are three main steps: assembling the gate bracket and actuator arm, determining the gate brackets' position on the gate, and securing the gate bracket to the gate. The positioning of the gate bracket is determined by how the gate opens and if it is pulled to open or pushed to open. In either case, assembly is quick and easy. Let's first look at how to connect the actuator and gate bracket.
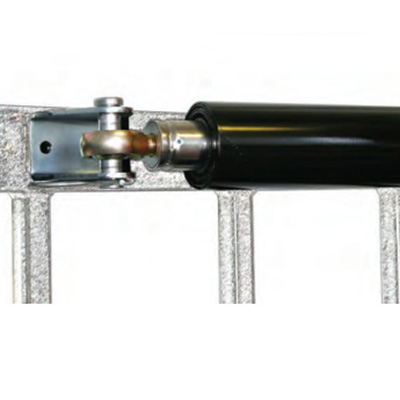
Connecting the Linear Actuator to the Gate Bracket
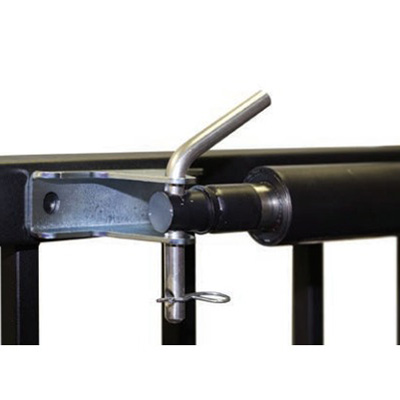
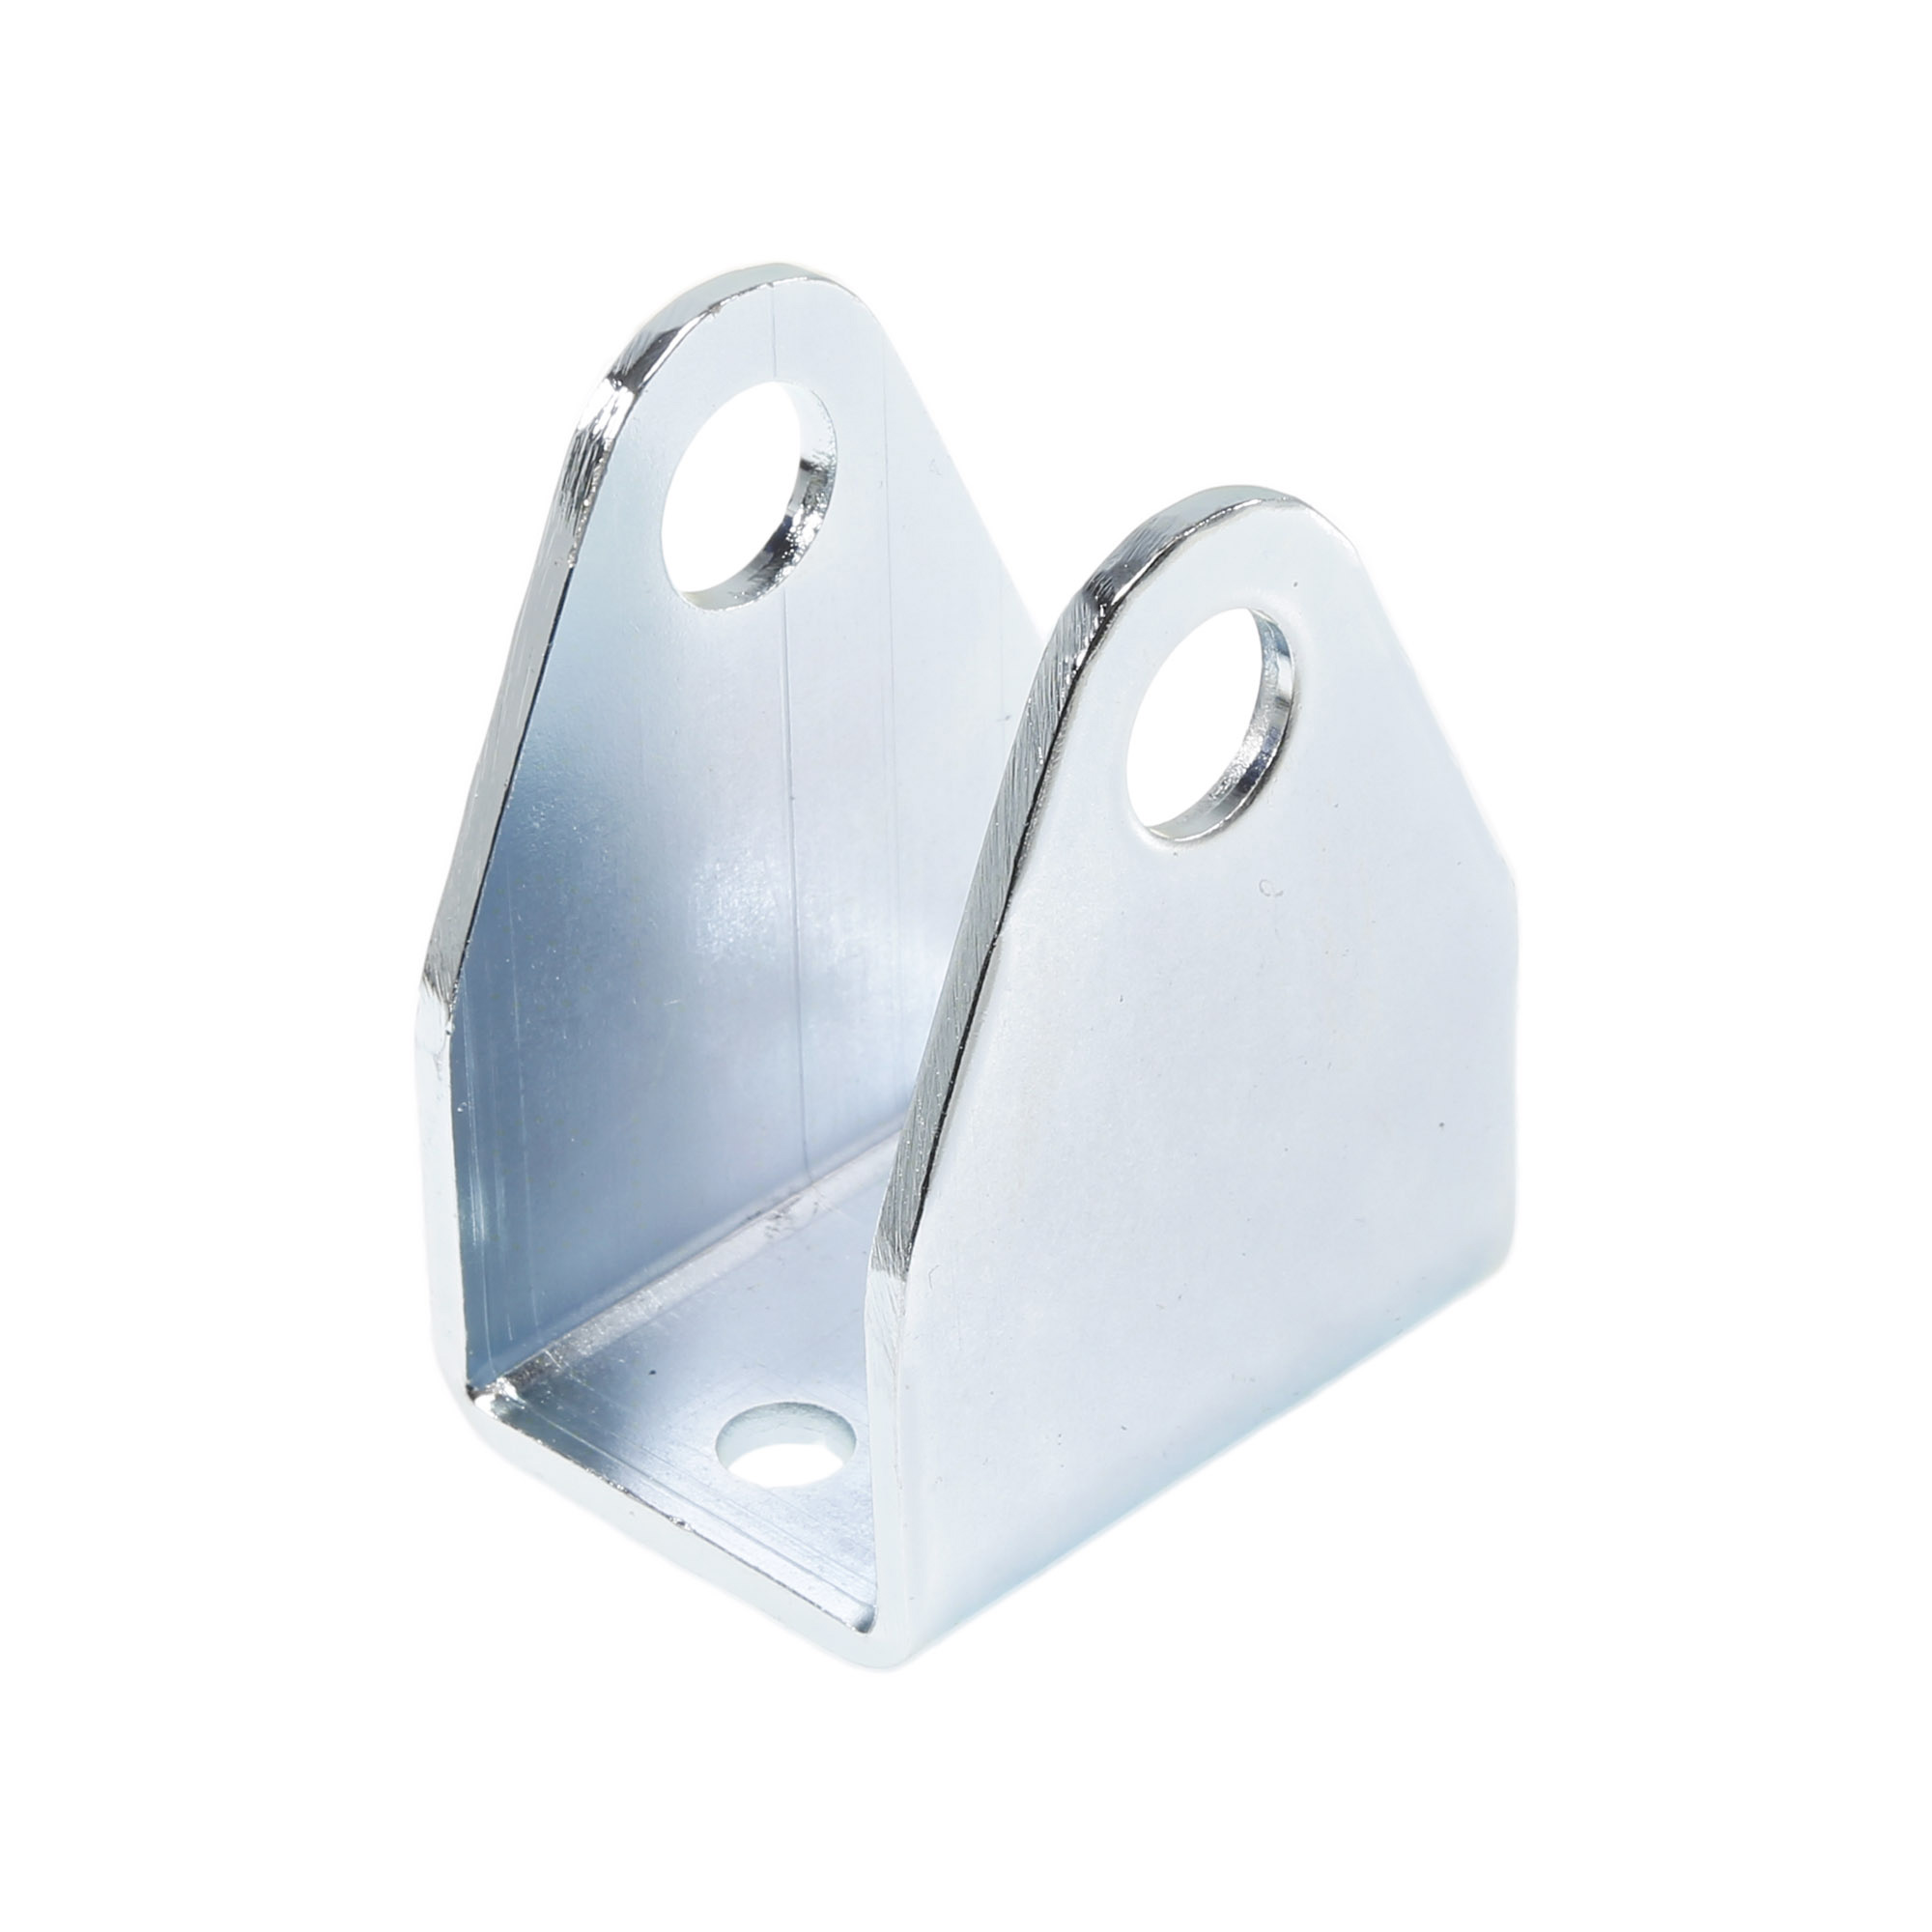
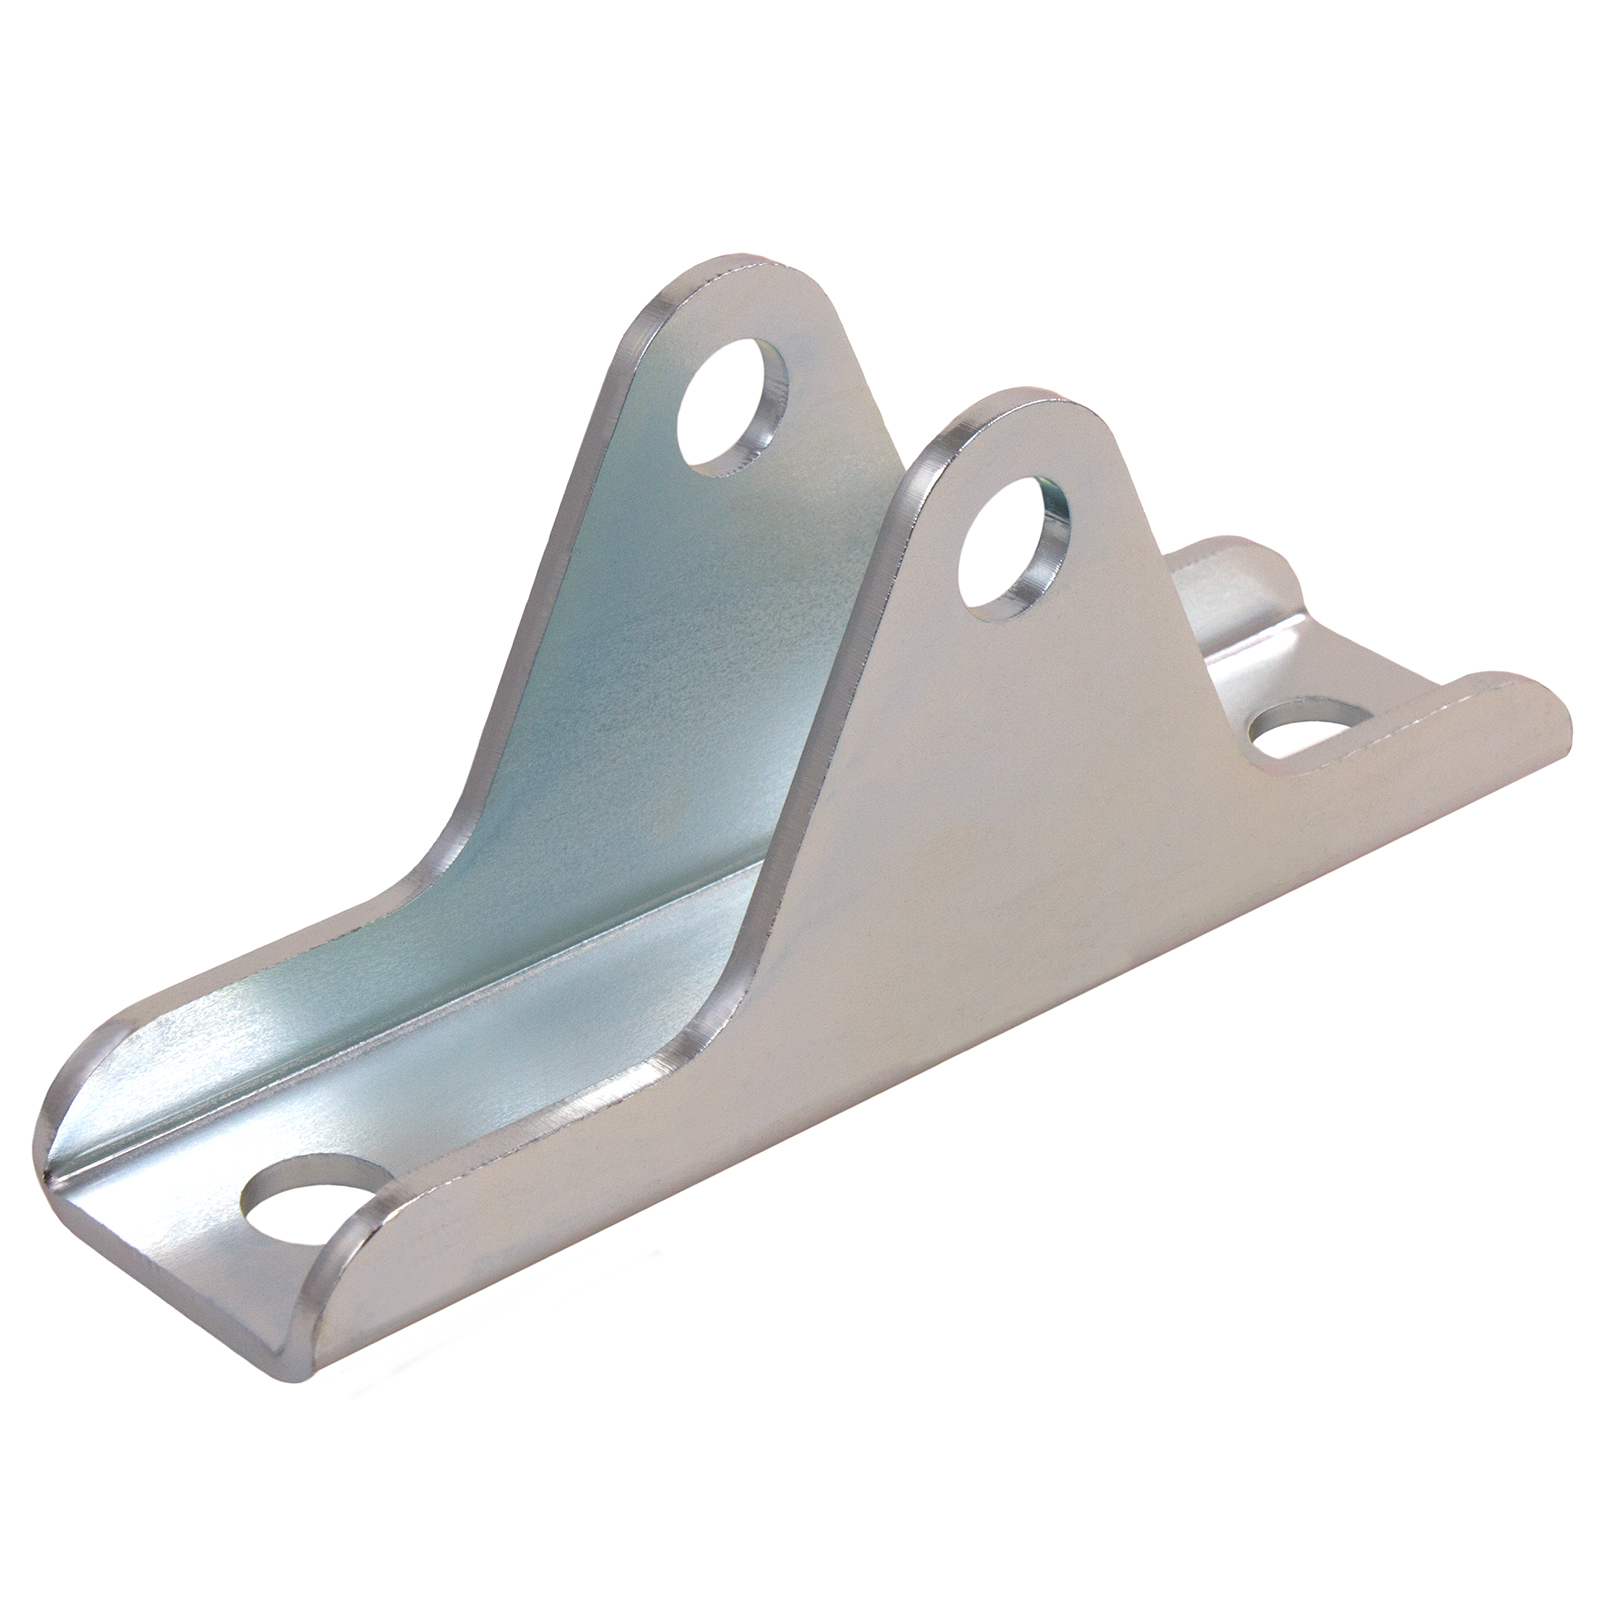
- Align the gate bracket with the eye loop at the end of the actuator arm.
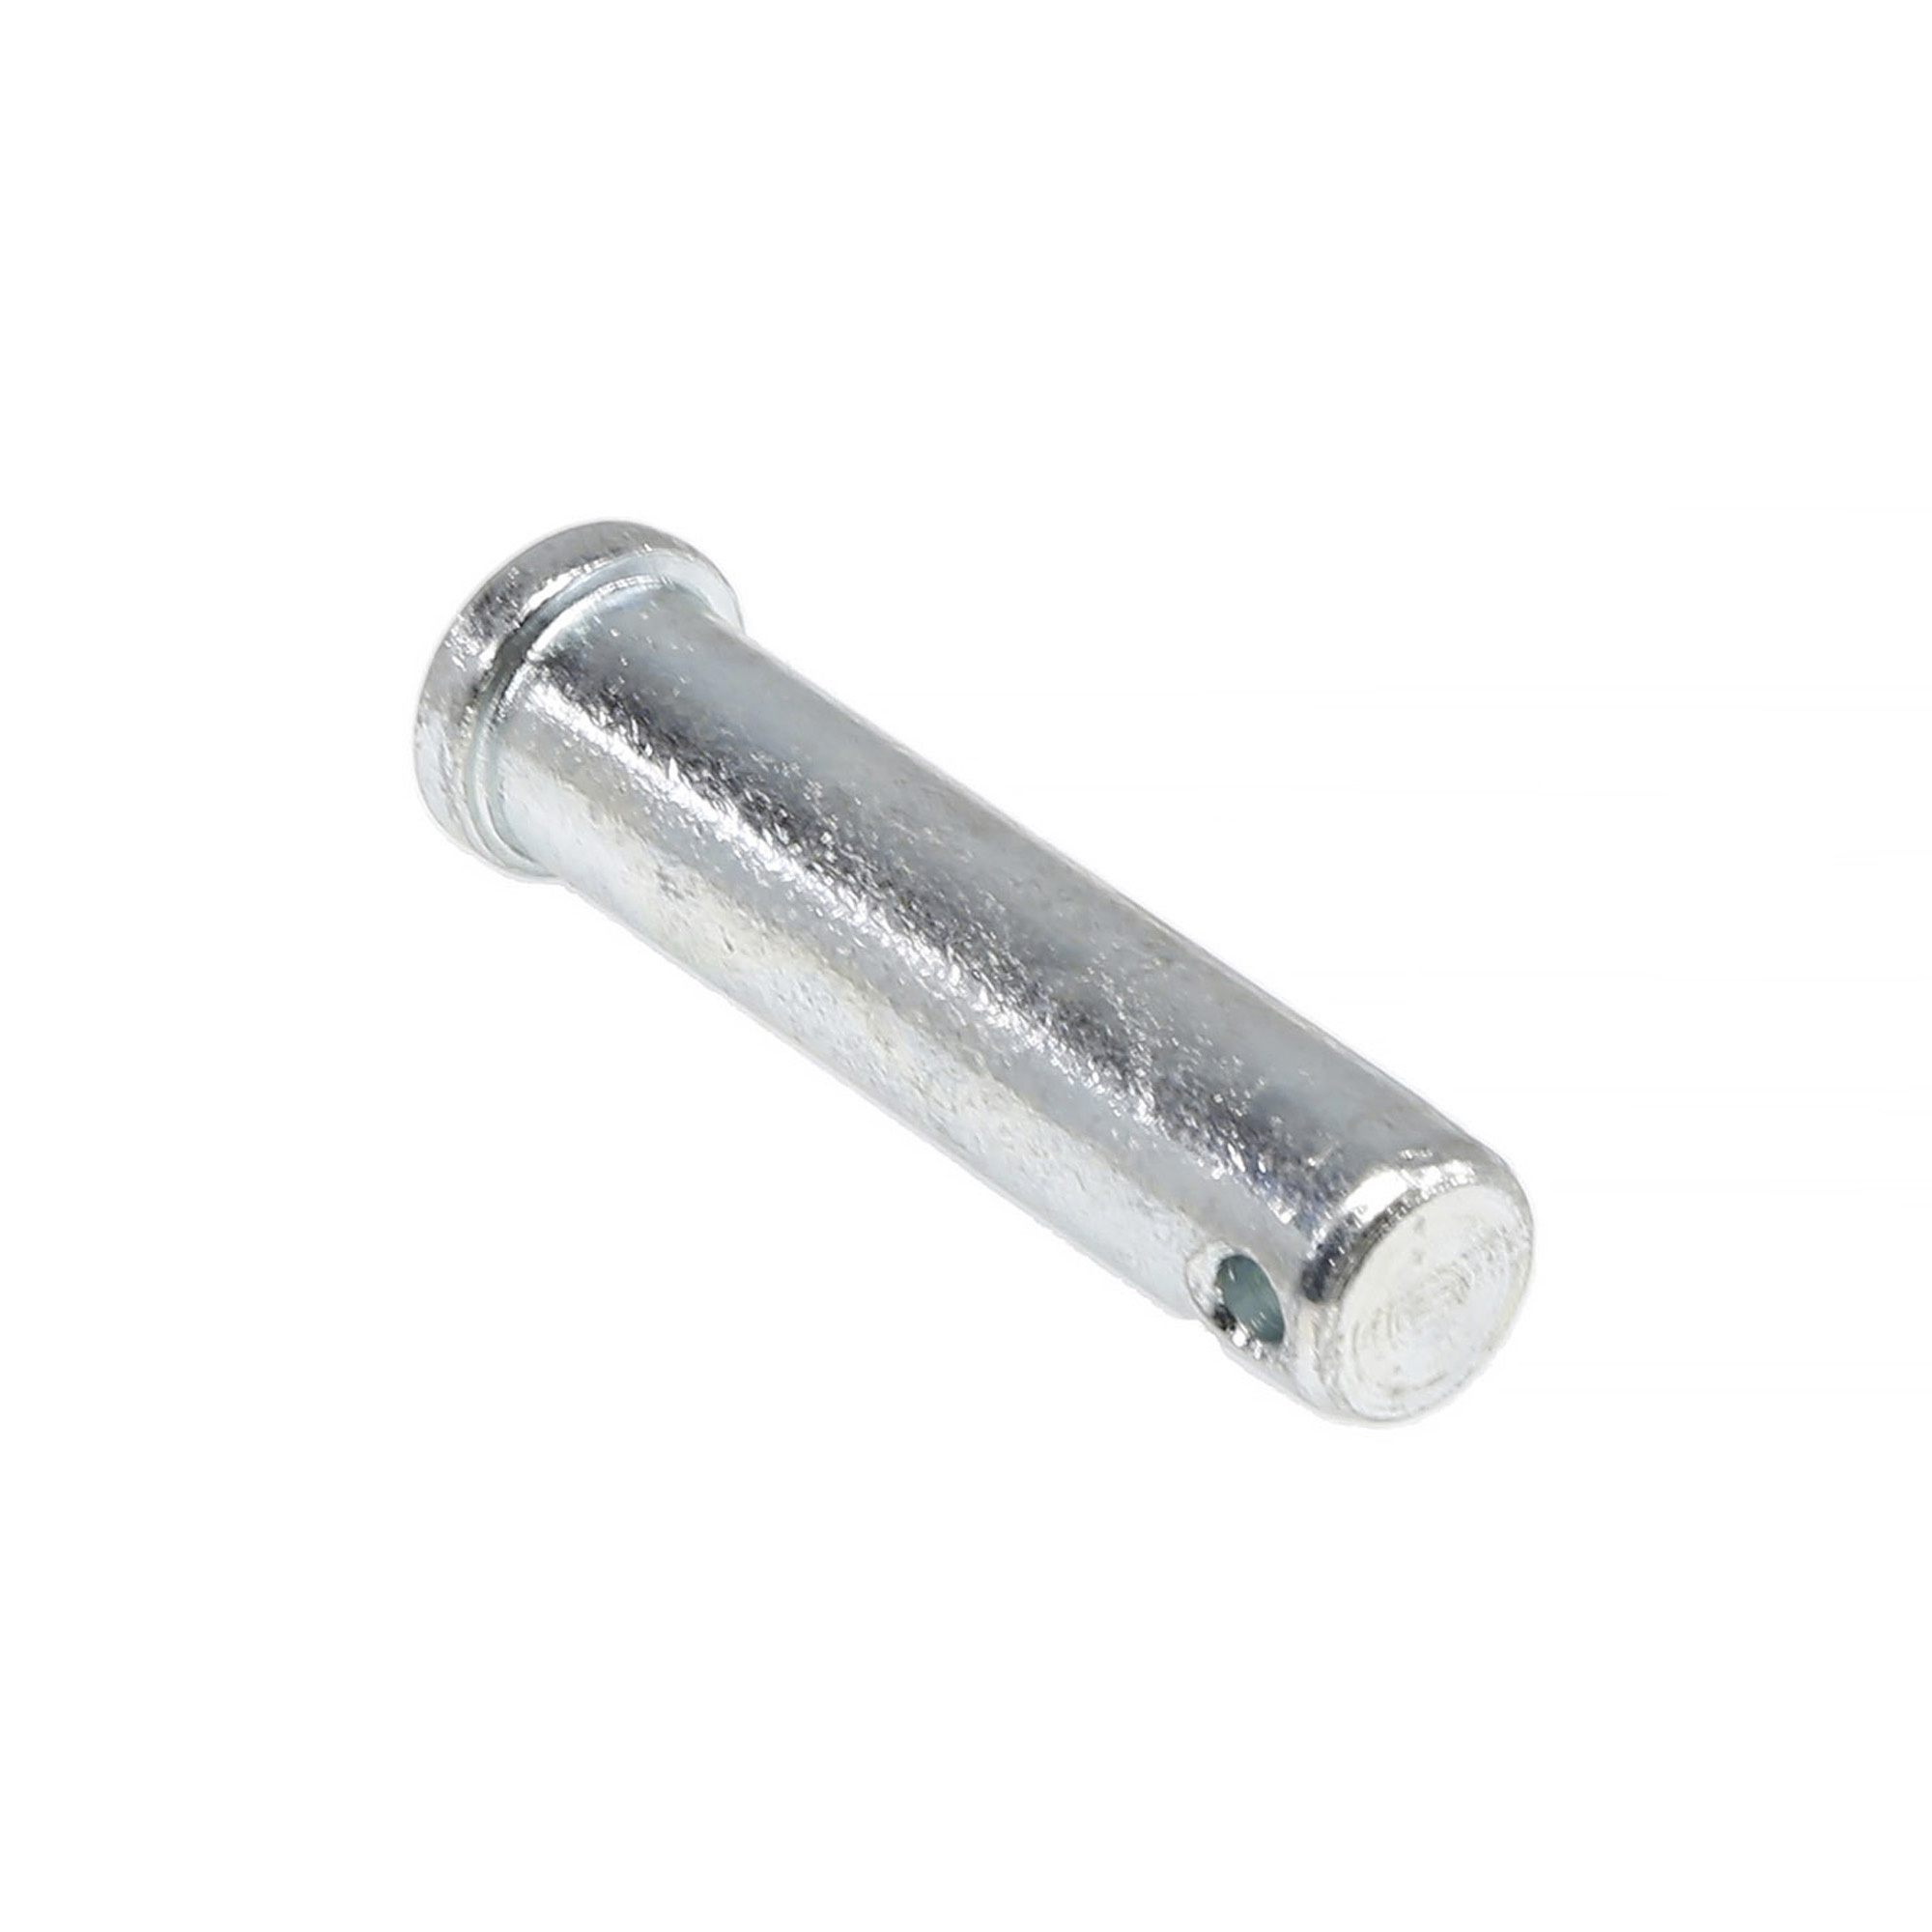
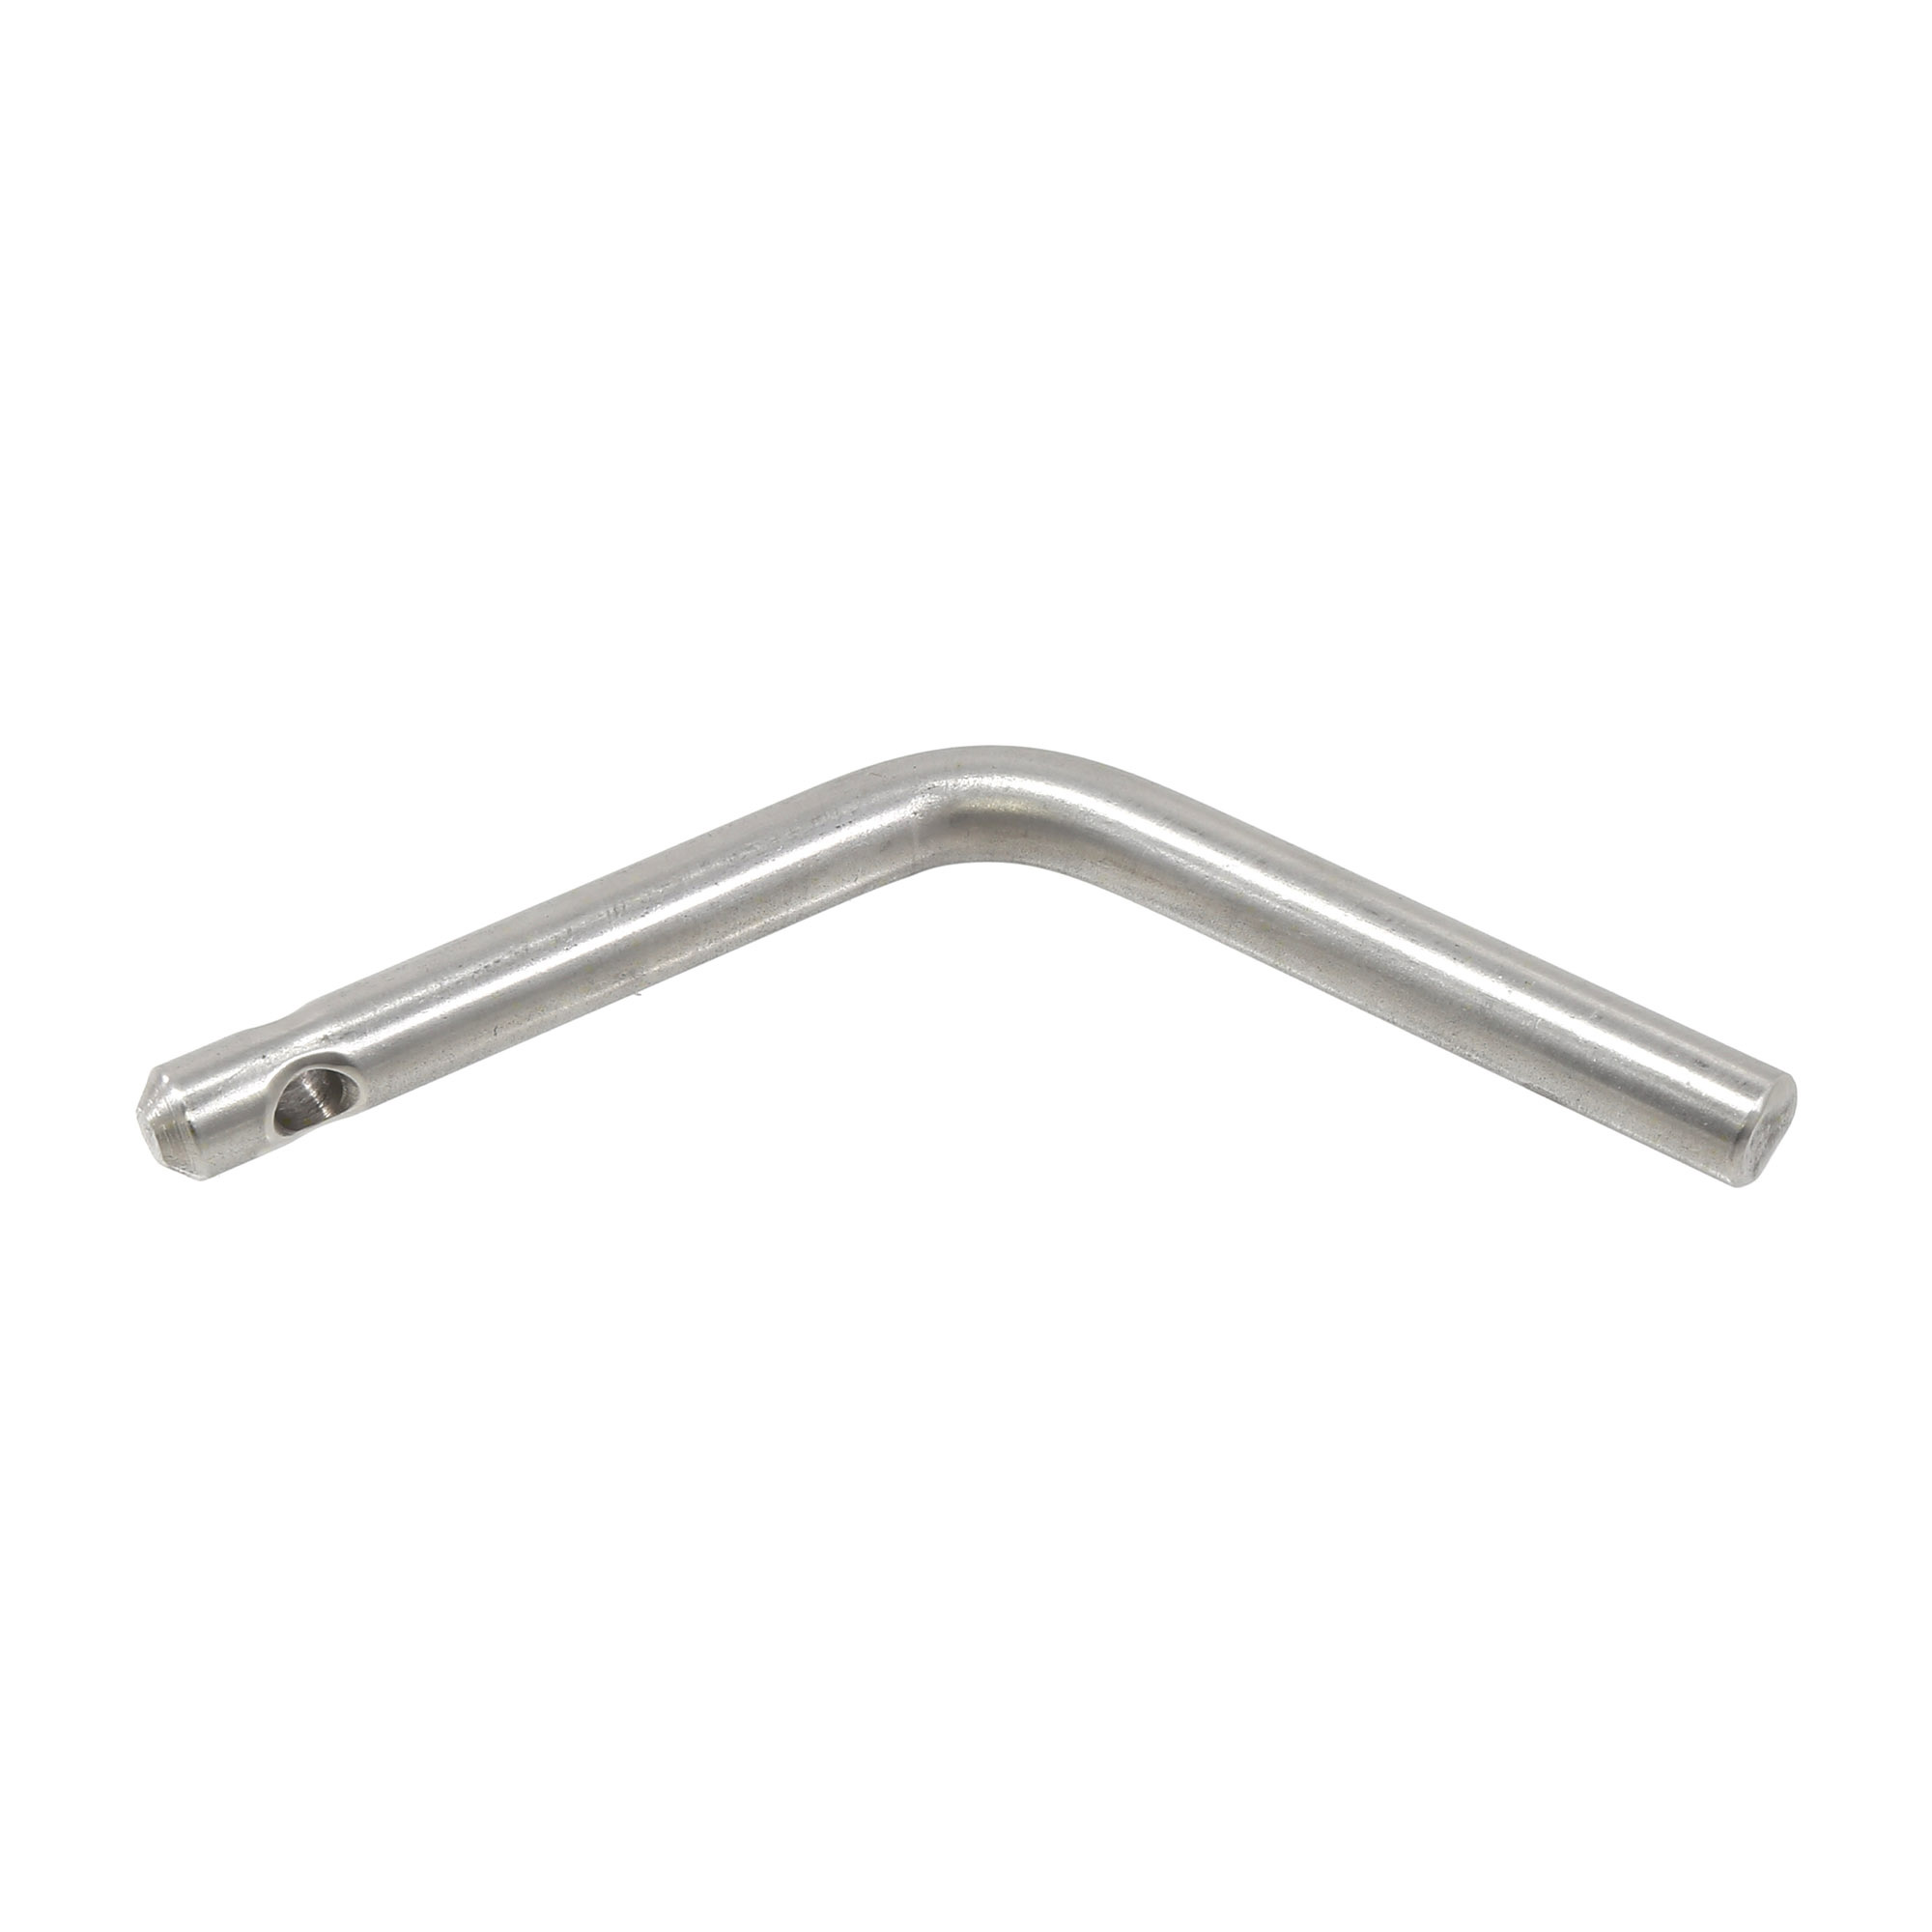
- Place the lockable manual release pin through the bracket and eye loopholes.
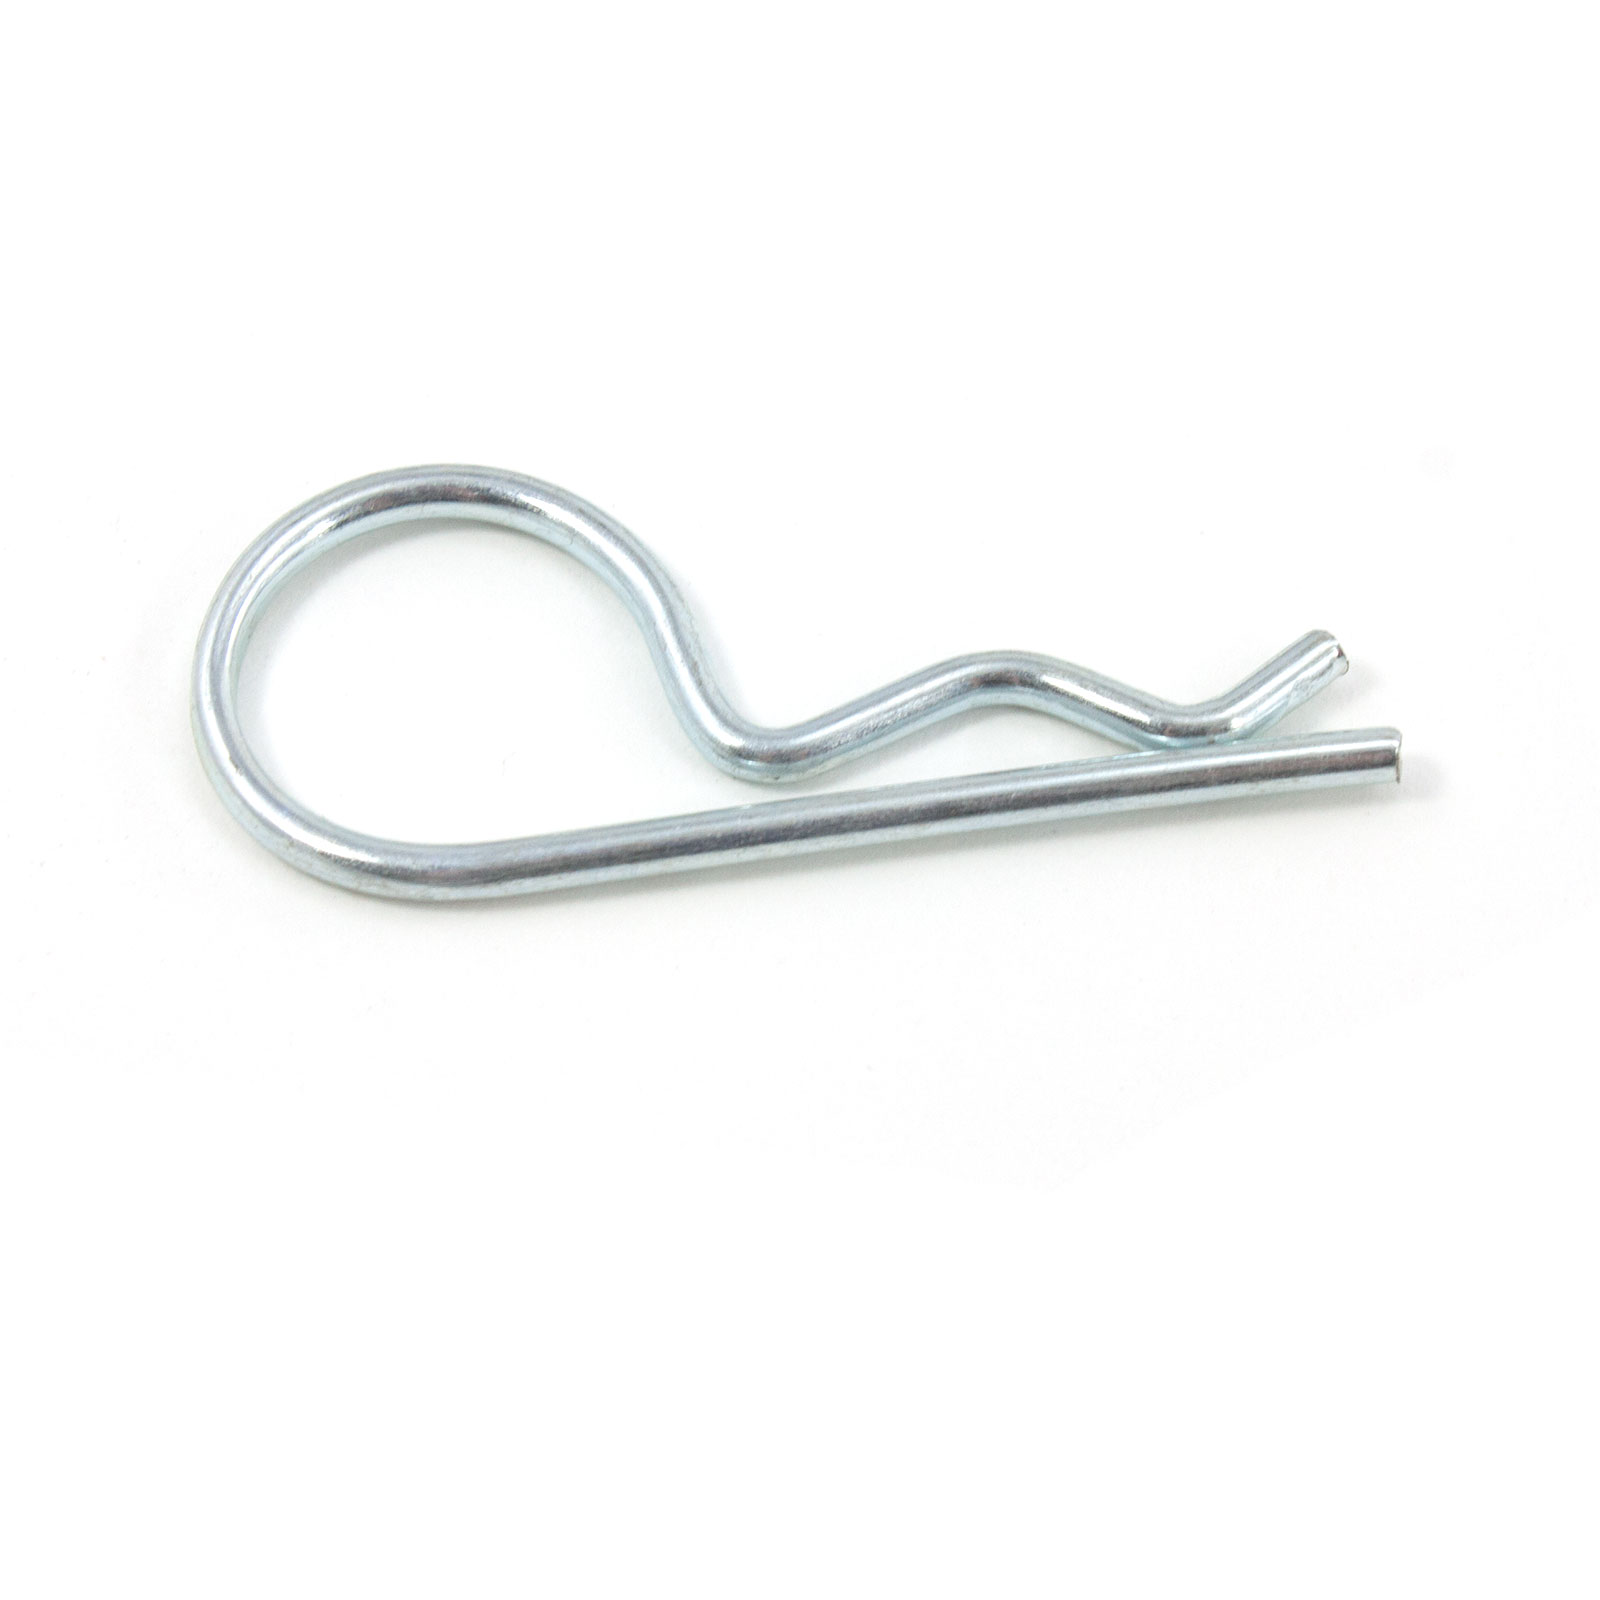
- Lock the manual release pin by placing the pin clip through the holes at the bottom of the pin.
Determining the Gate Bracket Potion on the Gate
Patriot Actuator Arm to Mounting Bracket Assembly
Ranger Actuator Arm to Mounting Bracket Assembly
There are two ways to assemble a swing gate opener system's actuator. You can install the system so the actuator pulls or pushes to open. Once you have decided which is best for your swing gate and after installing the gate post mounting bracket to the actuator assembly, carefully follow the steps below.
Pull to Open Linear Actuator Gate Bracket Installation
Reminder: The mounting bracket should already be secured to the gate post, and the actuator arm should be connected to the mounting bracket before you continue to gate bracket assembly.
- Swing the gate to the fully open position.
- Swing the actuator in a level position to meet the fully open gate. The contact point of the actuator and the gate is where the bracket will be installed.
- Mark where the gate bracket must be welded or bolted onto the gate.
- At this point, you will want to disassemble the gate bracket and actuator by removing the pin clip and release pin.
- Weld or bolt on the gate bracket to the gate.
- With the gate bracket secured to the gate, you can reconnect the actuator to the gate bracket by aligning the holes and replacing the release pin and pin clip.
Push to Open Linear Actuator Gate Bracket Installation
- Swing the gate to the fully closed position.
- Swing the actuator in a level position to meet the fully open gate. The contact point of the actuator and the gate is where the bracket will be installed.
- Mark where the gate bracket must be welded or bolted onto the gate.
- At this point, you will want to disassemble the gate bracket and actuator by removing the pin clip and release pin.
- Weld or bolt on the gate bracket to the gate.
- With the gate bracket secured to the gate, you can reconnect the actuator to the gate bracket by aligning the holes and replacing the release pin and pin clip.
Read the following articles for mounting bracket instructions and the next steps of USAutomatic linear actuator arm installation.
- How to Install USAutomatic Linear Actuator to Mounting Bracket
- How to Connect USAutomatic Linear Actuator Cable to the Control Box
- 8 Steps to Splice USAutomatic Linear Actuator Cables for Dual Gate Systems
For further information about USAutomatic products, packages, and replacement parts, please get in touch with our friendly sales representatives. They are happy to help in any way they can!
Contact Us