How to Add a Second Actuator Arm to Your USAutomatic Gate Opener
Part of what makes USAutomatic swing gate openers so convenient is that every model has both a single and dual variant so that you have everything you need right out of the box. Even better is that if you choose to upgrade from a single swing gate operator to a dual, you don't need to buy a whole new operator as USAutomatic openers (Patriot, Ranger HD, Ranger 500) already support a second actuator from the existing control box, only needing a few extra hardware pieces for installation as well as the matching actuator. Let's take a quick look at what you're going to need for your upgrade!
A Few Things to Keep in Mind
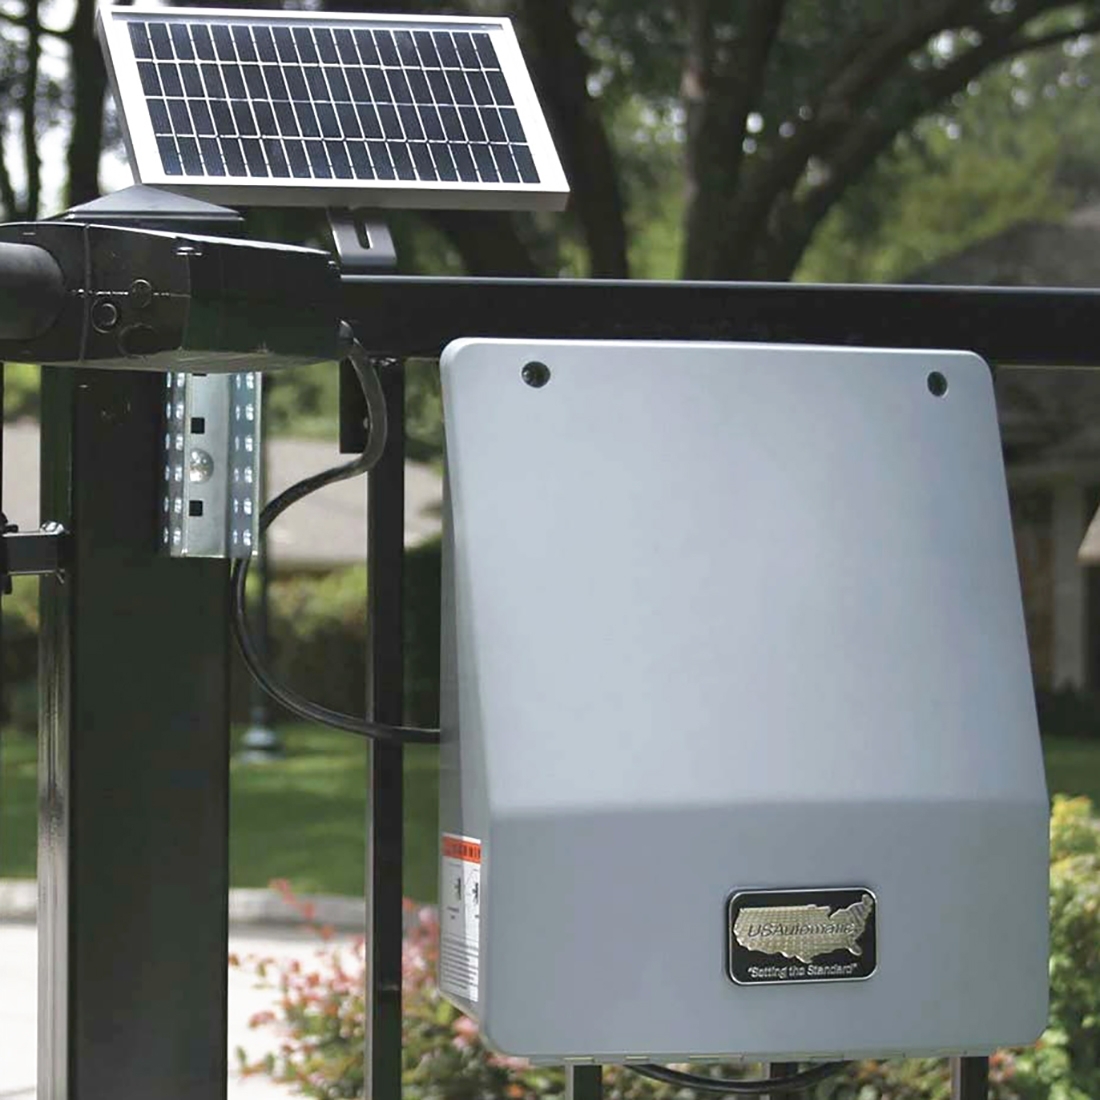
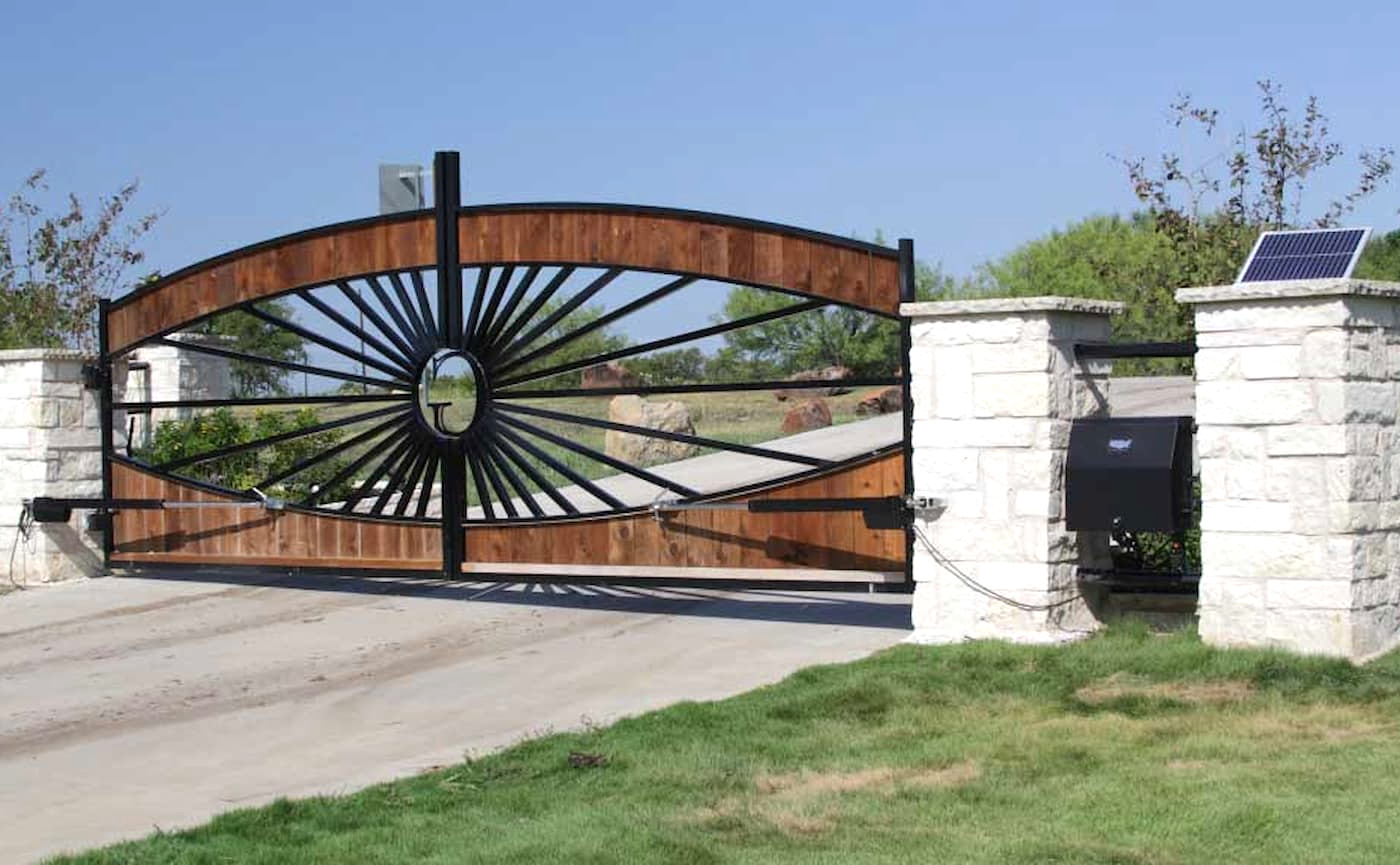
Before purchasing a new actuator and mounting hardware, there's a few things to know about your gate and opener configurations. First, ensure that both gates are level and properly hung before installation, as the opener cannot compensate for a misaligned gate which can damage both your gate and your gate opener. Then, if you're using a solar gate opener, you may need to upgrade your solar panel as a 5W panel is not sufficient for dual gate operation (10 to 20W recommended). Finally, please note that dual swing gates open and close in sequence meaning that the primary actuator (gate 1) goes first, secondary actuator (gate 2) second, finishing by closing in reverse order.
Compatibility & What You Need
In order to attach your secondary actuator to your gate post as well as connect it to your control box, you're going to need two things: An actuator, and an actuator installation kit. Luckily, we've laid out all of the parts your need for a proper, professional installation.
Secondary Actuators:
- Patriot I & II / Ranger HD: Gate 2 Actuator Installation Kit
- Ranger 500 / Sentry 300: Gate 2 Actuator Installation Kit
Secondary Actuators:
- Patriot I & II: USAutomatic Patriot Actuator Complete w/ 8 ft Cable Harness | 24 Inch Stroke
- Ranger HD: USAutomatic Ranger HD Actuator Complete w/ 8 Foot Cable Harness | 24 Inch Stroke
- Ranger 500 / Sentry 300: Sentry 300 Actuator Complete w/ 8 Foot Cable Harness | 16 Inch Stroke
How the Installation Works
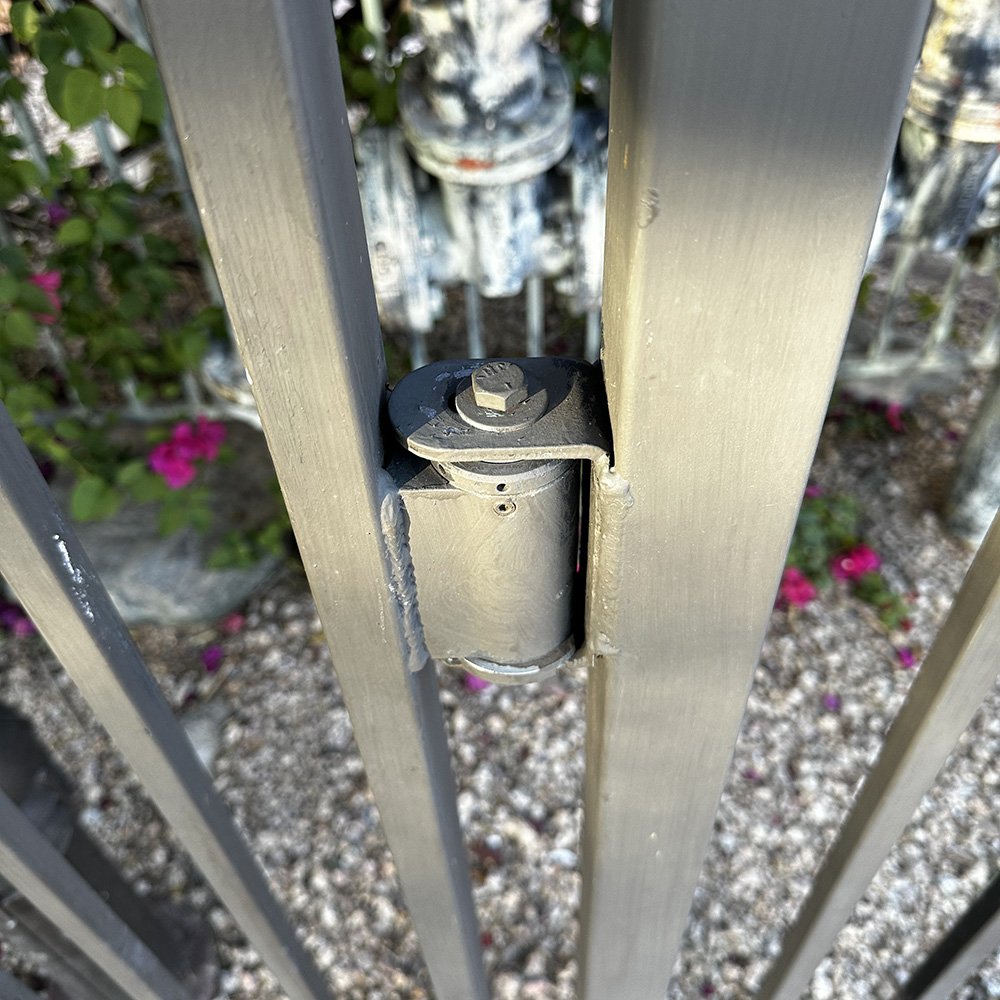
Step One: Mount & Attach the Actuator
- Install the mounting bracket to the secondary actuator hinge post first
- Secure actuator to bracket with nylon washers, bronze bushings, 3/8 in. bolt, and lock nut
- Attach the gate bracket to the actuator's eye loop using the lockable release pin
- Pull-to-open vs. push-to-open will determine gate bracket placement
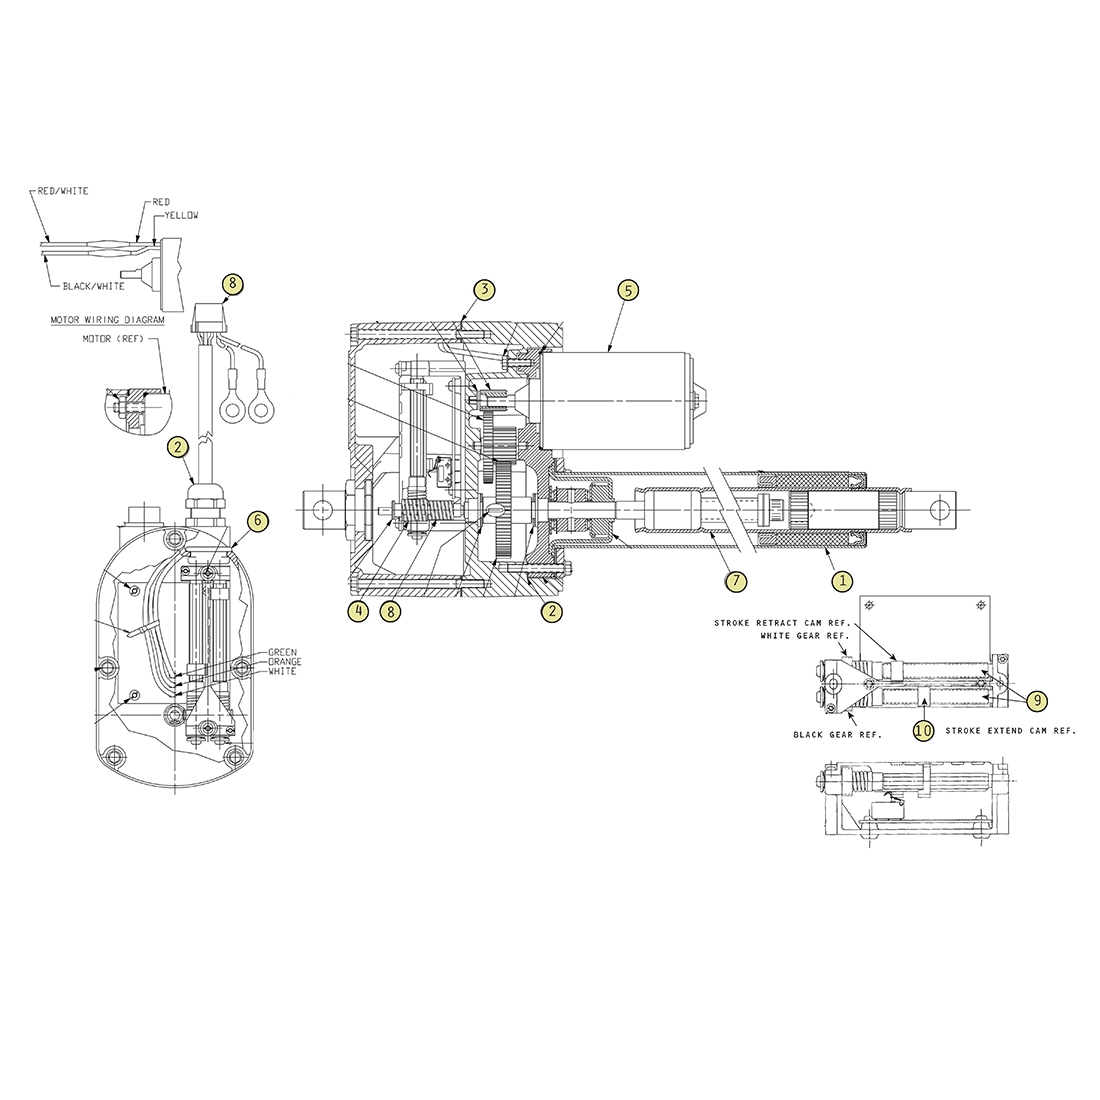
Step Two: Wire the Second Actuator
- Use the included 40 ft. extension cable. If your run is longer, order a longer cable instead of splicing underground
- Install a rain-tight junction box at the secondary actuator's post, match and connect colored wires with wire nuts
- Do not power on the control board until all wiring is complete