

How to Verify Dipswitch Settings and Photo Eye Setup on USAutomatic Gate Openers
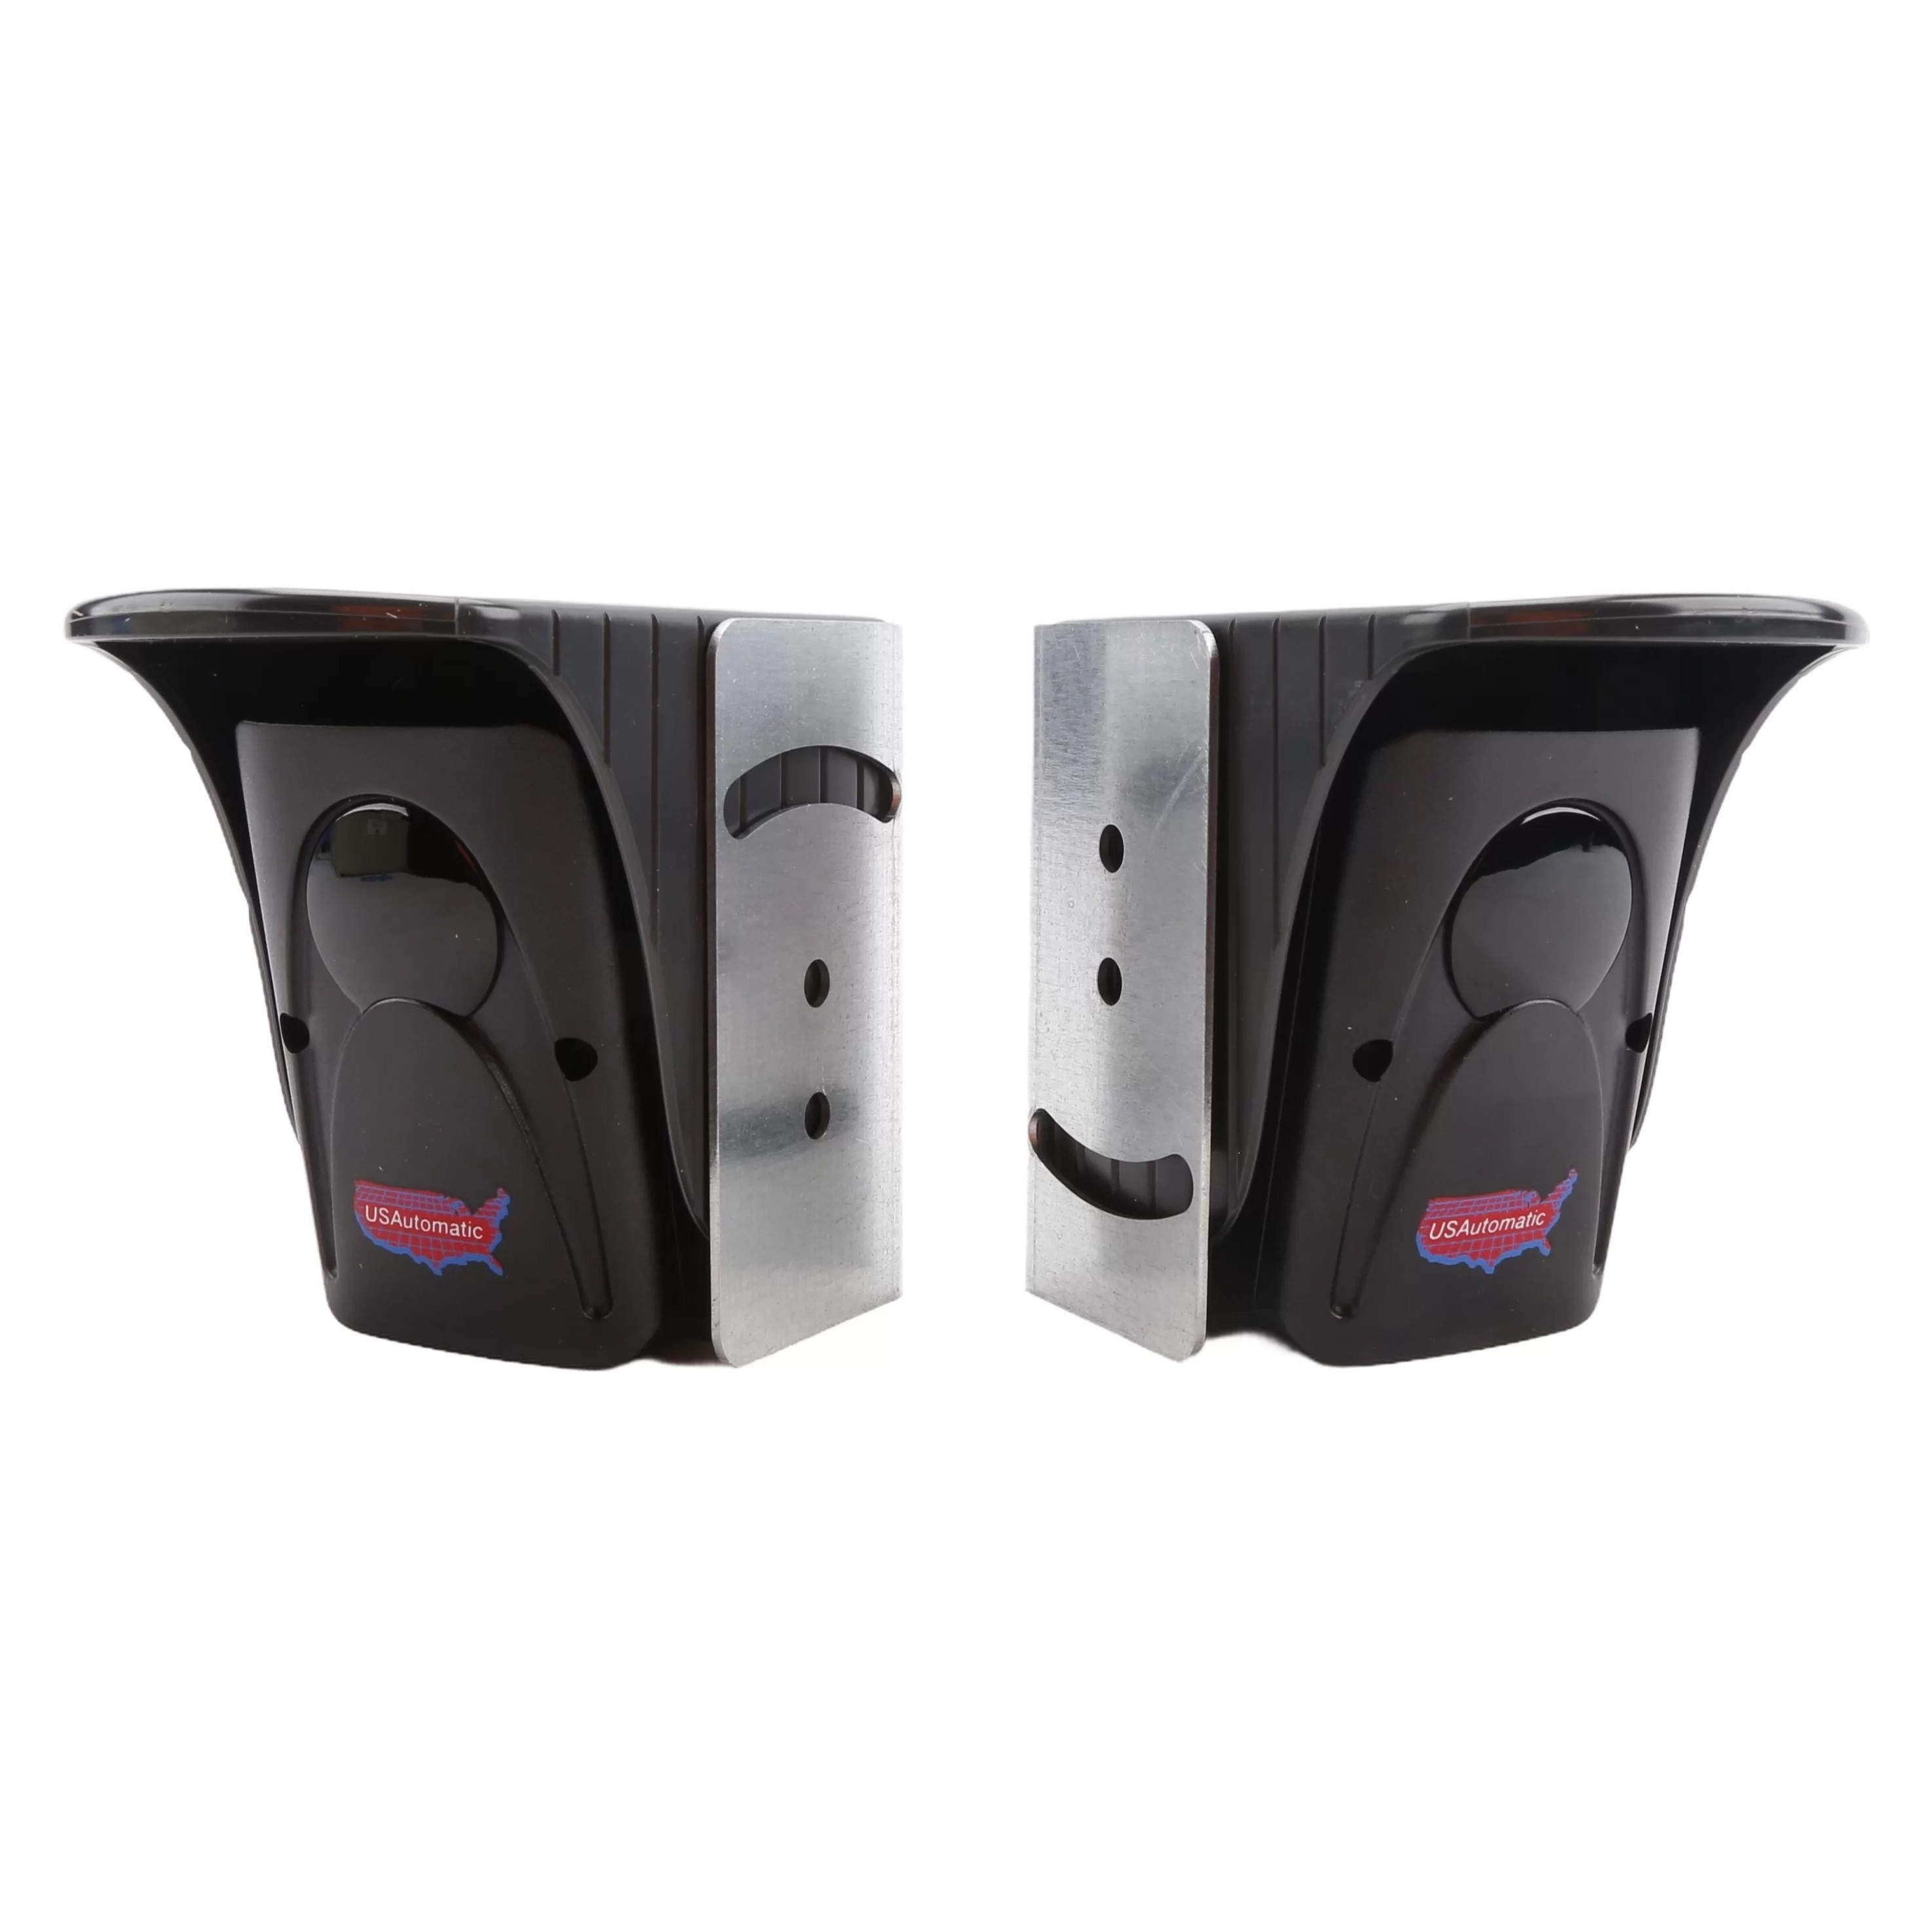
Photo eyes are a critical safety feature on your automatic gate system, preventing the gate from closing on vehicles, pets, or people. If your gate isn't responding correctly after installing a new photo eye or if you're troubleshooting an existing setup, verifying your control board dipswitch settings and photo eye alignment is the best place to start. This guide applies to USAutomatic Patriot Swing, Ranger HD/500 Swing, and Patriot RSL operators.
What You'll Need
- Your gate operator's installation manual (for model-specific wiring diagrams)
- A small flathead screwdriver
- Fresh 3.6V AA batteries for the photo eye transmitter (TX), if applicable
Step 1: Confirm Physical Installation and Wiring
Before adjusting any settings, make sure the photo eyes are physically mounted and wired to the control board. If you need help with the wiring, refer to the diagram on the back page of your installation manual or the wiring schematic included with your operator.
Step 2: Identify the Protection Direction
Photo eyes can be installed for Open Direction protection or Closed Direction protection. Knowing which you have determines how the board should be configured. If you are unsure which direction your photo eyes protect, check the control board's J2 connector for a wire on either:
- Pin 4: Open Direction protection
- Pin 8: Closed Direction protection
Step 3: Verify Dipswitch Settings on the Control Board
Each operator model requires specific dipswitch configurations. Ensure that any switches for unused safety devices are disabled and off. Configure the board according to your operator model and the direction identified in Step 2:
| Operator Model | Notes |
|---|---|
| Patriot Swing | Configure DS1 per manual for your protection direction |
| Ranger HD or 500 Swing | Configure DS1 per manual for your protection direction |
| Patriot RSL | Configure DS1 per manual for your protection direction |
Please note that incorrect dipswitch settings are one of the most common causes of photo eye malfunction. Double-check that only the appropriate switches for your installed safety devices are enabled.
Step 4: Verify Photo Eye Alignment and Function
Before you test the full gate cycle, you need to confirm that the photo eyes are receiving power, properly aligned with each other, and sending the correct signal back to the control board. This check will help you catch wiring, alignment, or dipswitch issues safely without the gate attempting to move.
- Give the Photo Eye Constant Power: To test the photo eye safely without the gate moving, you need to turn off the gate enable dipswitches so the eye receives constant power during testing. Set DS1 switches 3 and 4 to OFF, so both switches are flat to the left. If the photo eye does not power on at all after doing this, verify that DS1 switch 10 is turned ON, as this may be required to supply power to the eye.
- Check the Photo Eye LEDs: Once the eye has power, observe the LED on the photo eye itself. The LED will illuminate to show you the current alignment status. If the light is red, this means the eye is not aligned. If the light is green, this means the eye is aligned. If you are struggling to maintain alignment and cannot get a steady green light, you can measure the photo eye alignment strength using the Test Points on the receiver (RX) eye to help you fine-tune the position.
- Test the Control Board LED Indicator: Press and hold the LED indicator button on the control board, then watch the appropriate photo eye LED. If you are using open direction protection, watch LED number 4. If you are using closed direction protection, watch LED number 8. The LED should turn ON when the photocell is aligned and turn OFF when it is not. If the light behaves backward instead—meaning it is OFF when the eye is aligned and ON when it is not aligned—then verify the eye is wired using the NC terminal rather than the NO terminal. If the light stays ON at all times, regardless of alignment, verify that the power wire is connected to J2 pin 12 rather than pin 1. If you are completely unable to get the eyes to align, verify that the appropriate 3.6V AA batteries are installed in the transmitter (TX) eye and that they are not dead.
Step 5: Re-Enable Safety Settings and Test Gate Operation
Once alignment is confirmed, restore the normal operating configuration:
- Re-enable the gate enable dipswitches: Once everything looks good, put the dipswitches back to normal. For a single gate, turn DS1 switch 3 ON. For a dual gate, turn DS1 switches 3 and 4 ON.
- Press the Open/Close command button and verify that the gate operates correctly in both opening and closing directions.
Still Having Issues? If the gate still does not operate after following these steps, please reach out to our representatives. They are happy to help in any way they can!
Contact Us