


How to Test the USAutomatic Electric Gate Lock
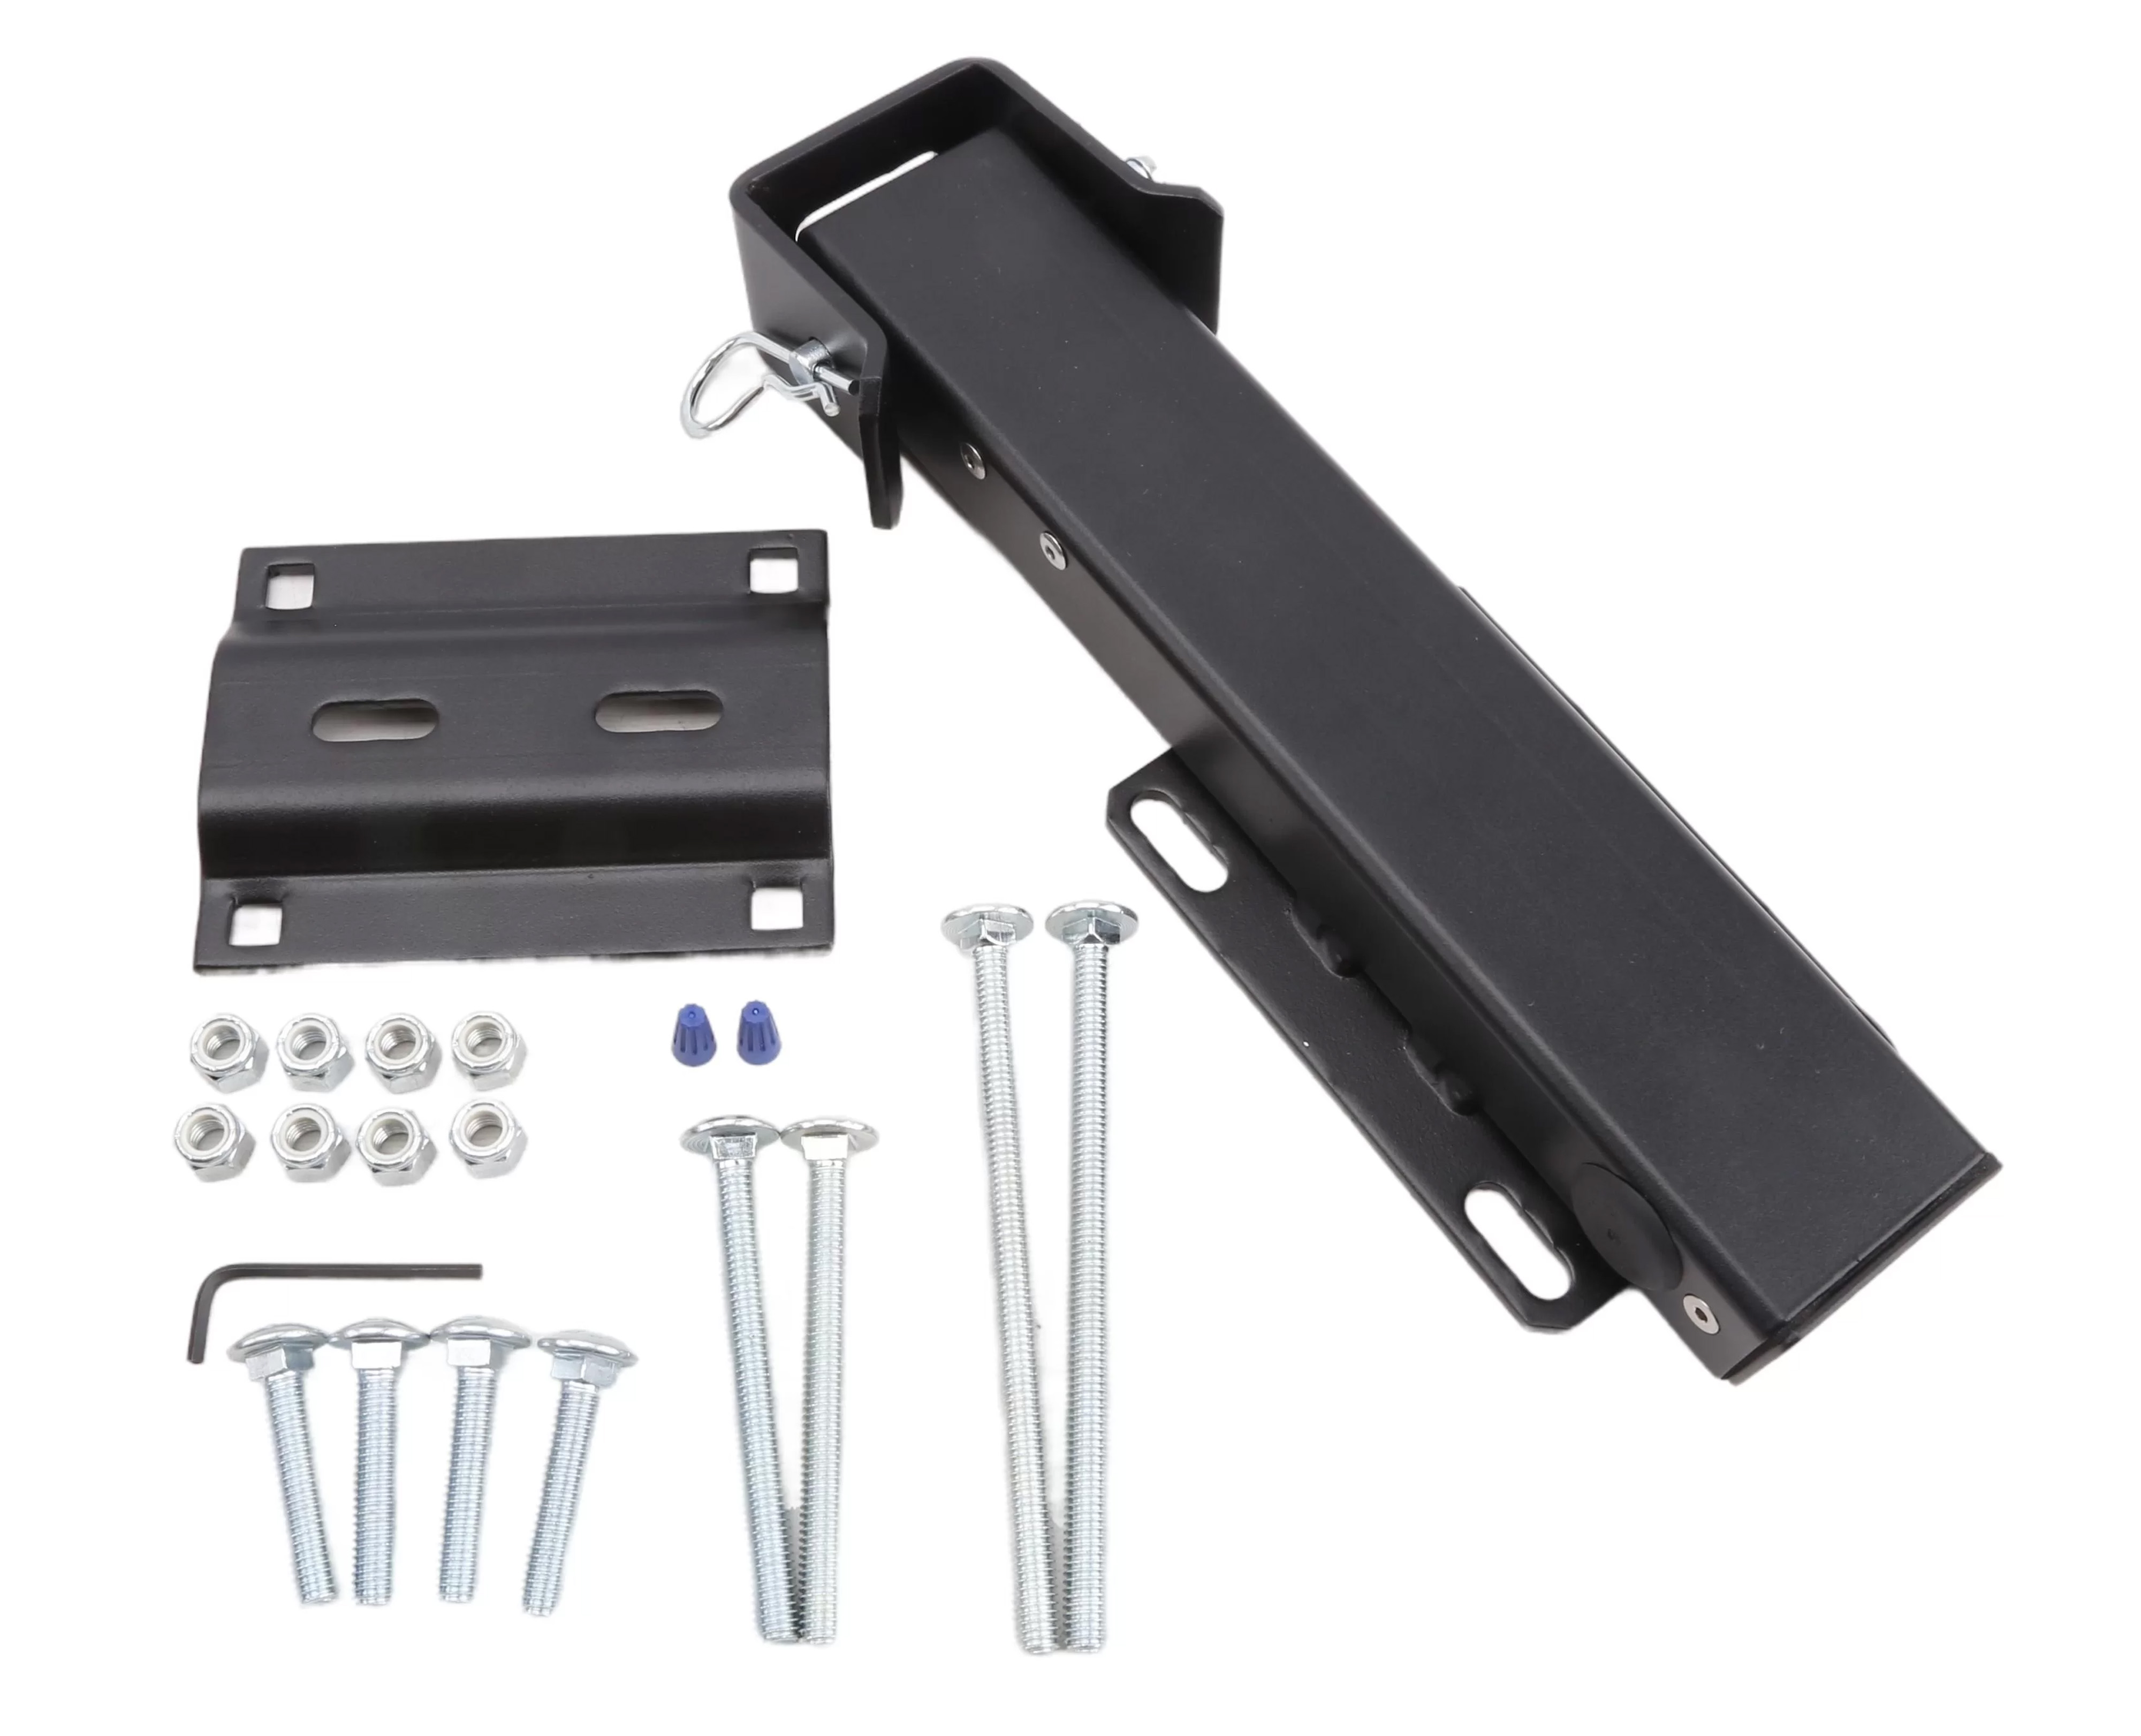
The USAutomatic Electric Gate Lock reliably secures automatic swing gates with an automatic locking mechanism. This is ideal for scenarios where a little extra security is needed. This guide will take you through the steps for applying power directly to the lock to test it, which may help determine whether the lock is functioning correctly.
You can view the full manual for the 070510 Electric Gate Lock here:
070510 Electric Gate Lock ManualTesting the Electric Lock
What You Need:
- Small Flat-Head Screwdriver
Start by Verifying the Following:
- Verify the battery is good
- Verify that the lock is clean and properlygreased d
- Remove as much dust and debris as possible. DO NOT DISASSEMBLE LOCK TO CLEAN
- Using white lithium spray grease, lubricate the lock and physically move the pin back and forth to coat it.
Retest to see if the problem is still occurring.
How to Disconnect the Lock:
If the problem still exists, you'll need to disconnect the lock for further testing.
- Identify the two lock wires that are connected to the control board. The location of these lock wires will vary based on the gate opener you are working with. See the outline below to help identify where these wires are located.
- The positive wire will always be connected to the control board. The negative wire may be connected to the negative post of the battery or the control board. If you are having trouble identifying the negative wire on the lock, start by finding the positive wire, then follow it back until it joins another wire. The new wire should be the negative wire that you are looking for.
Once you identify the wires, use your screwdriver to disconnect them from the control board. If the negative wire is connected to the negative terminal of the battery, do not disconnect it.
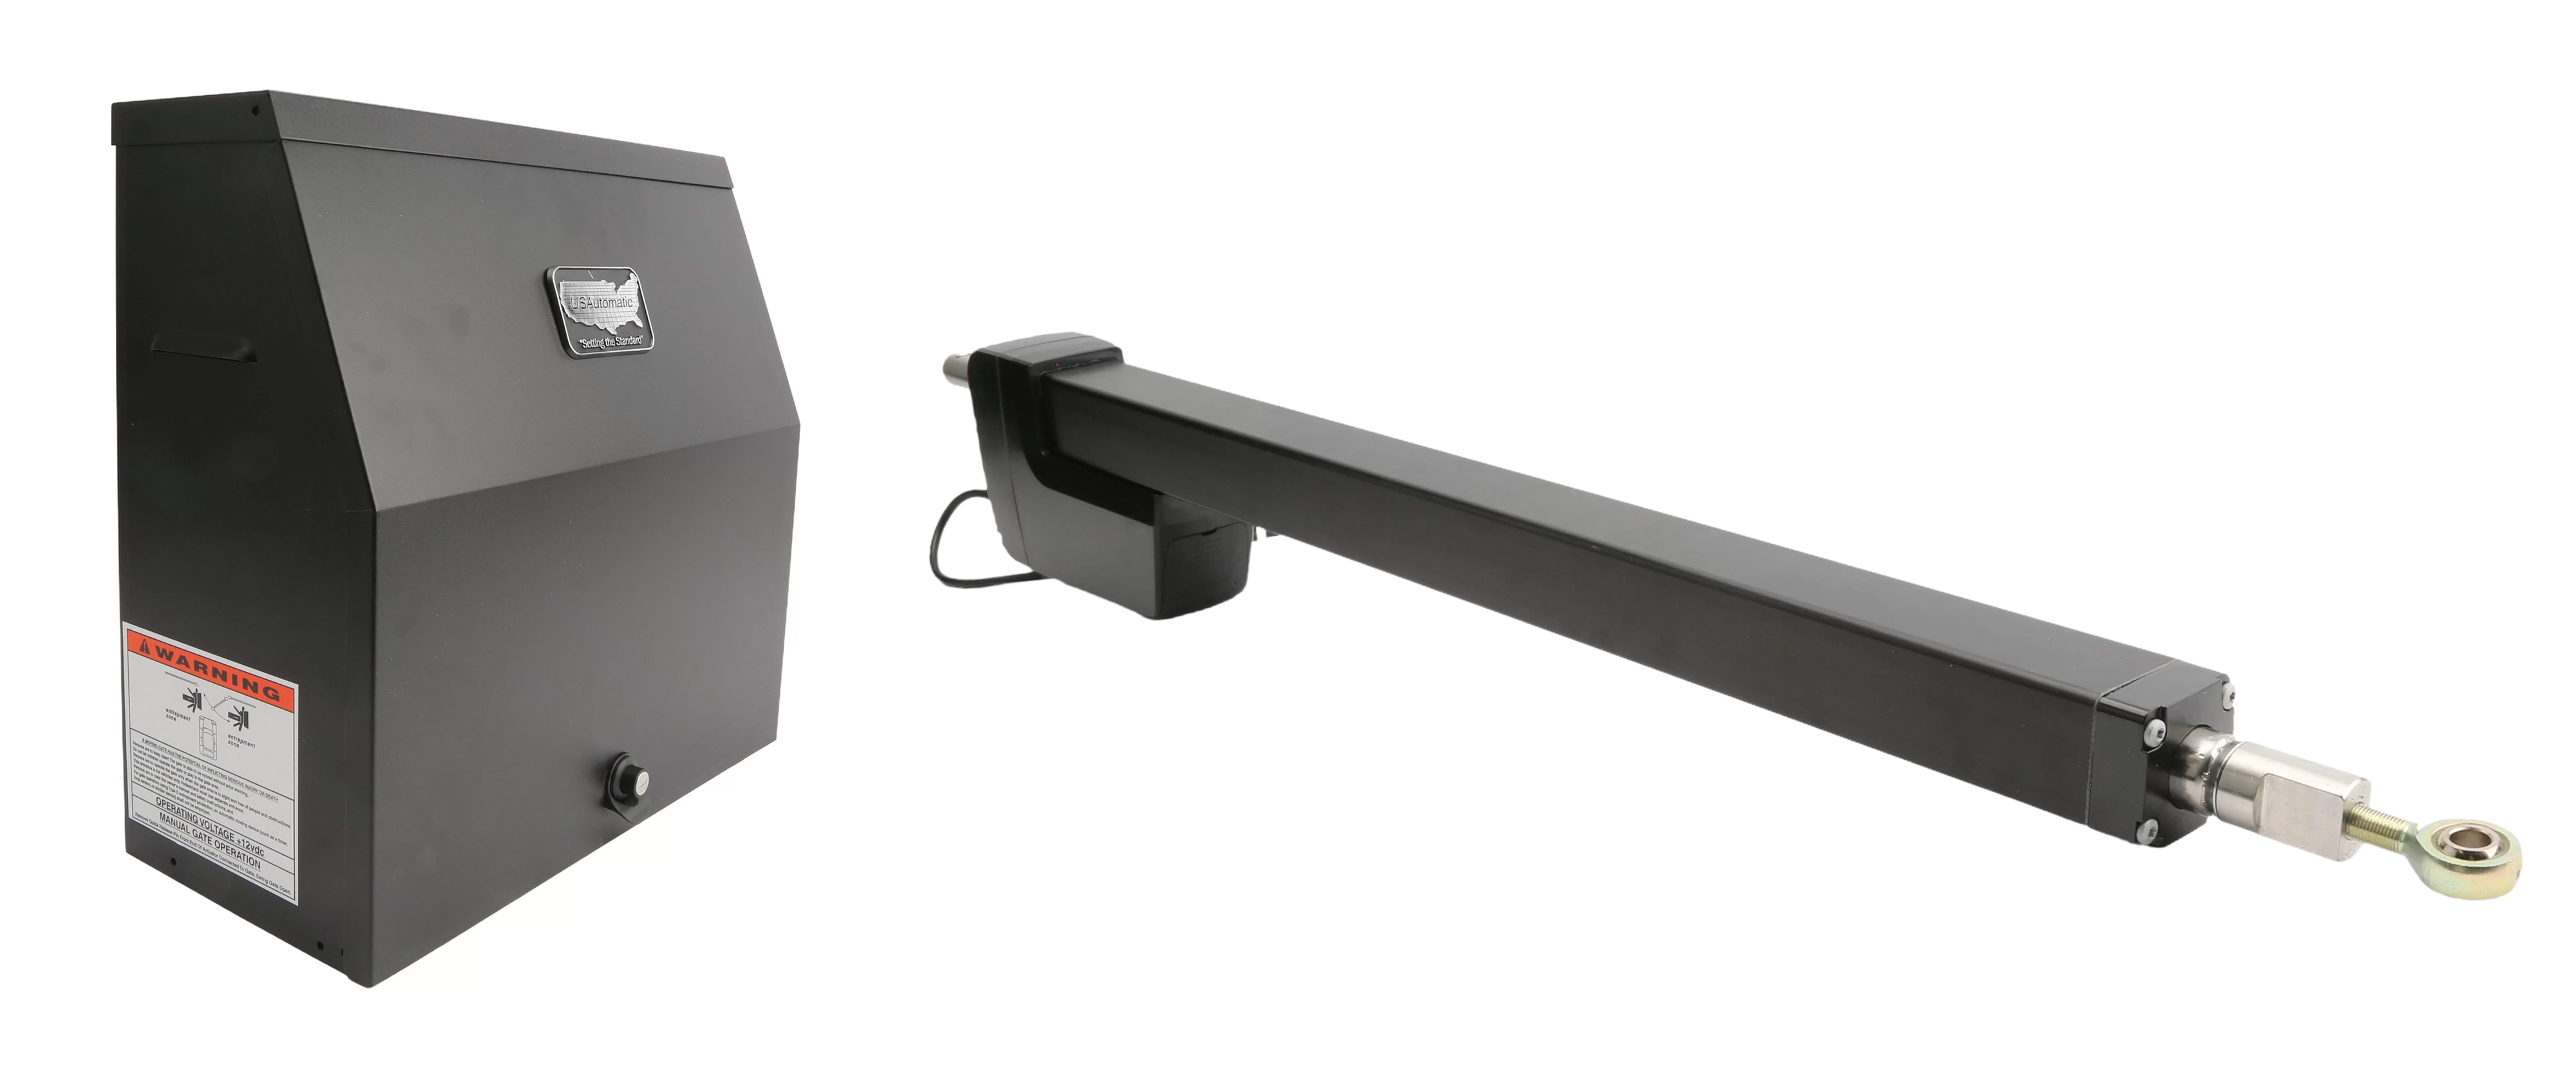
Patriot Gate Openers
Green, Blue or Red Control Board
- Positive wire: J1 terminal labeled "Solenoid lock" or "Sol/Mag lock," located in the bottom-right area of the control board.
- Negative wire: J1 terminal labeled "Common GND" or the battery's negative post.
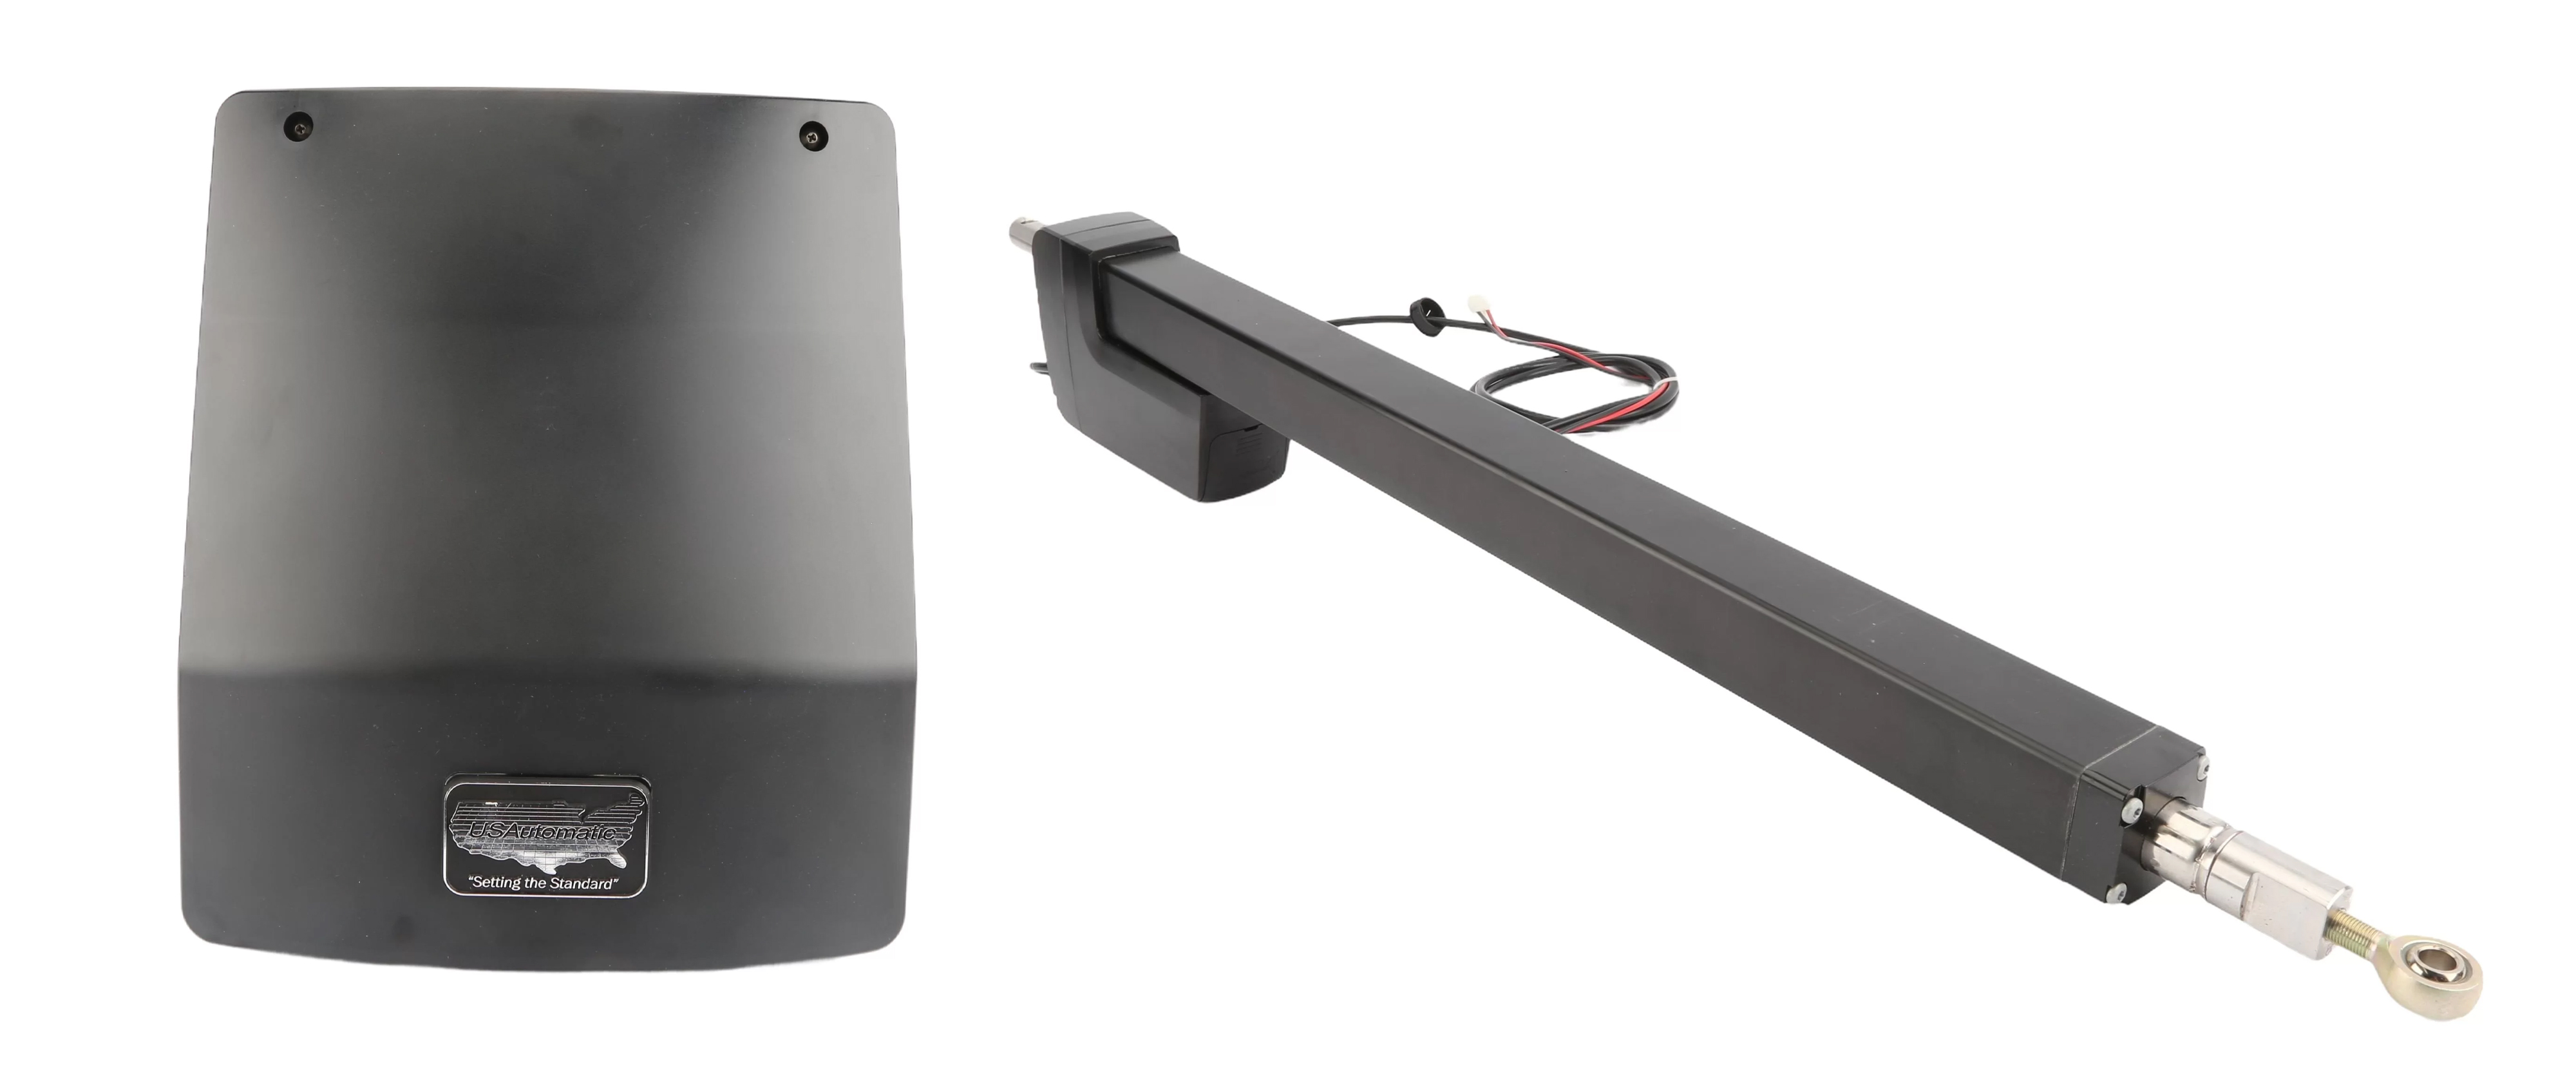
Ranger Gate Openers
Red Control Board
- Positive wire: J8 terminal labeled "Sol," located in the bottom-left corner of the control board.
- Negative wire: J8 terminal labeled "Gnd" or the battery's sy. post
Green Control Board
- Positive wire: J2 terminal #4 located at the bottom center of the control board.
- Negative wire: J2 terminal #2, J2 terminal #7, or the negative post of the battery.
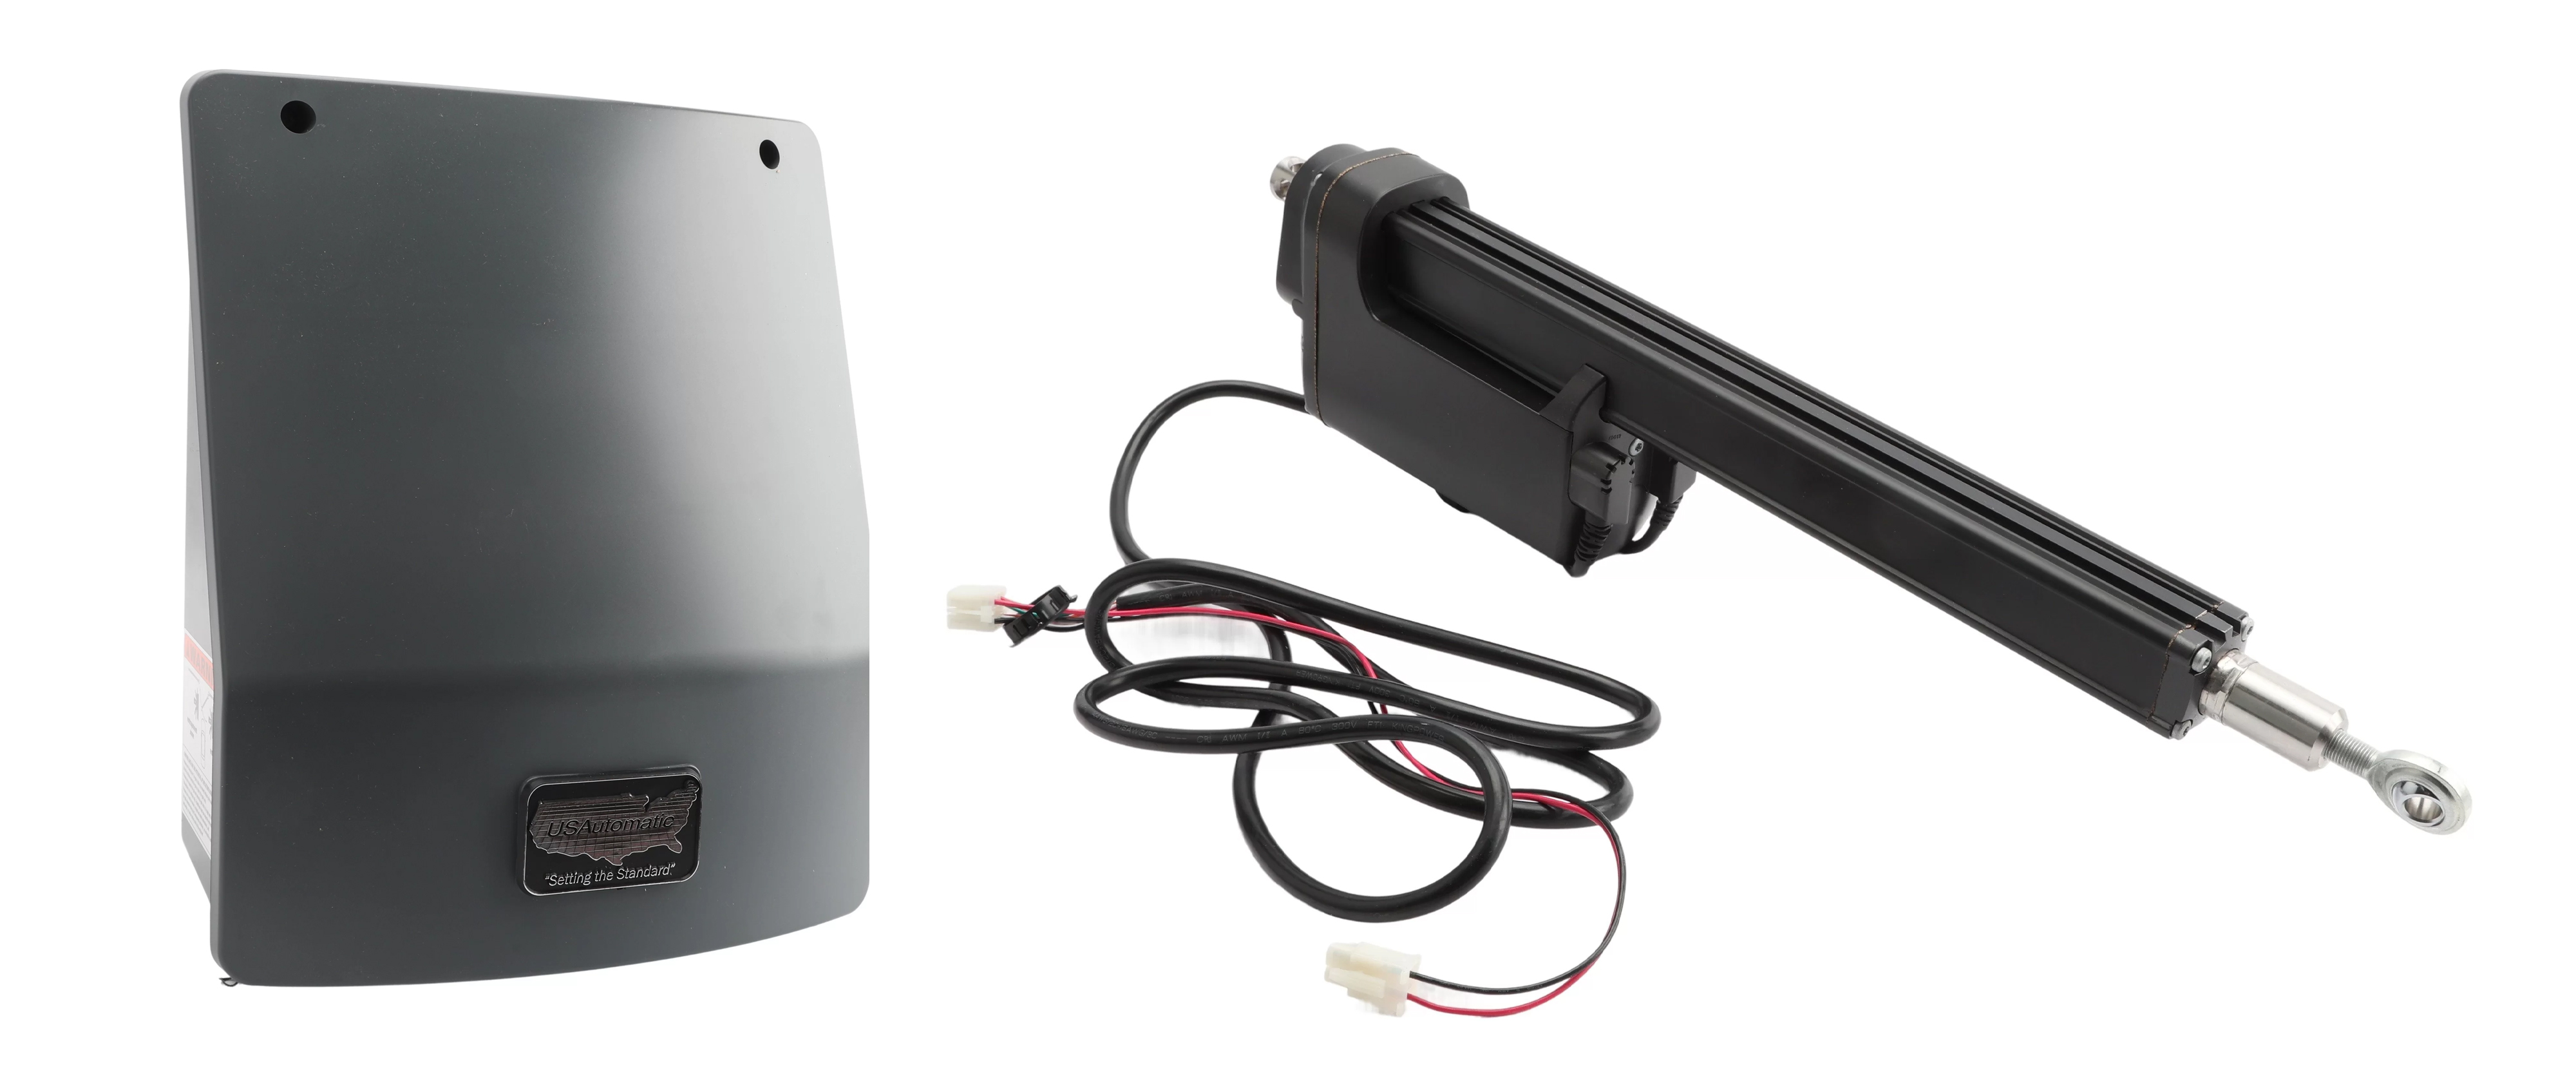
Sentry Gate Openers
Blue Control Board
- Positive wire: J2 terminal #5 located at the bottom center of the control board.
- Negative wire: J2 terminal #2, J2 terminal #7, or the negative post of the battery.
Green Control Board
- Positive wire: J2 terminal #7 located at the bottom center of the control board.
- Negative wire: J2 terminal #2 or the negative post of the battery.
Steps for Testing the Lock:
Testing the lock will involve connecting wires directly to the battery, which may cause a small spark. This is normal.
IF THERE IS SUBSTANTIAL SPARKING OR THE WIRES BEGIN TO HEAT UP, IMMEDIATELY REMOVE THE LOCK WIRES FROM THE BATTERY.
- Touch the positive wire to the positive post of the battery for 1 second, then release.
- Touch the positive wire to the battery post.
- Repeat if needed.
The lock should activate as soon as both wires are connected to the battery.
Troubleshooting Tips
- When testing the lock, if it makes a noise but the lock pin does not retract, the wires connected to the battery might be reversed. Reverse-polarity power applied to the lock will energize it and cause a noise, but will not trigger the lock pin to retract. Reverse the wires to solve this.
- If no noise is emitted from the lock, start by checking that the wire is good. You can do this by either testing the existing wire with an OHM meter or by running a temporary surface wire where the existing wire is. Then, repeat the test.
Struggling with Troubleshooting? Give us a Call!
We are here to help. If you are having issues with troubleshooting your USAutomatic Equipment, give our knowledgeable sales team a call! We can walk you through the testing steps and help you with any issues that come up.
Contact Us