


How to Pair a Basic Wireless Keypad to the Receiver
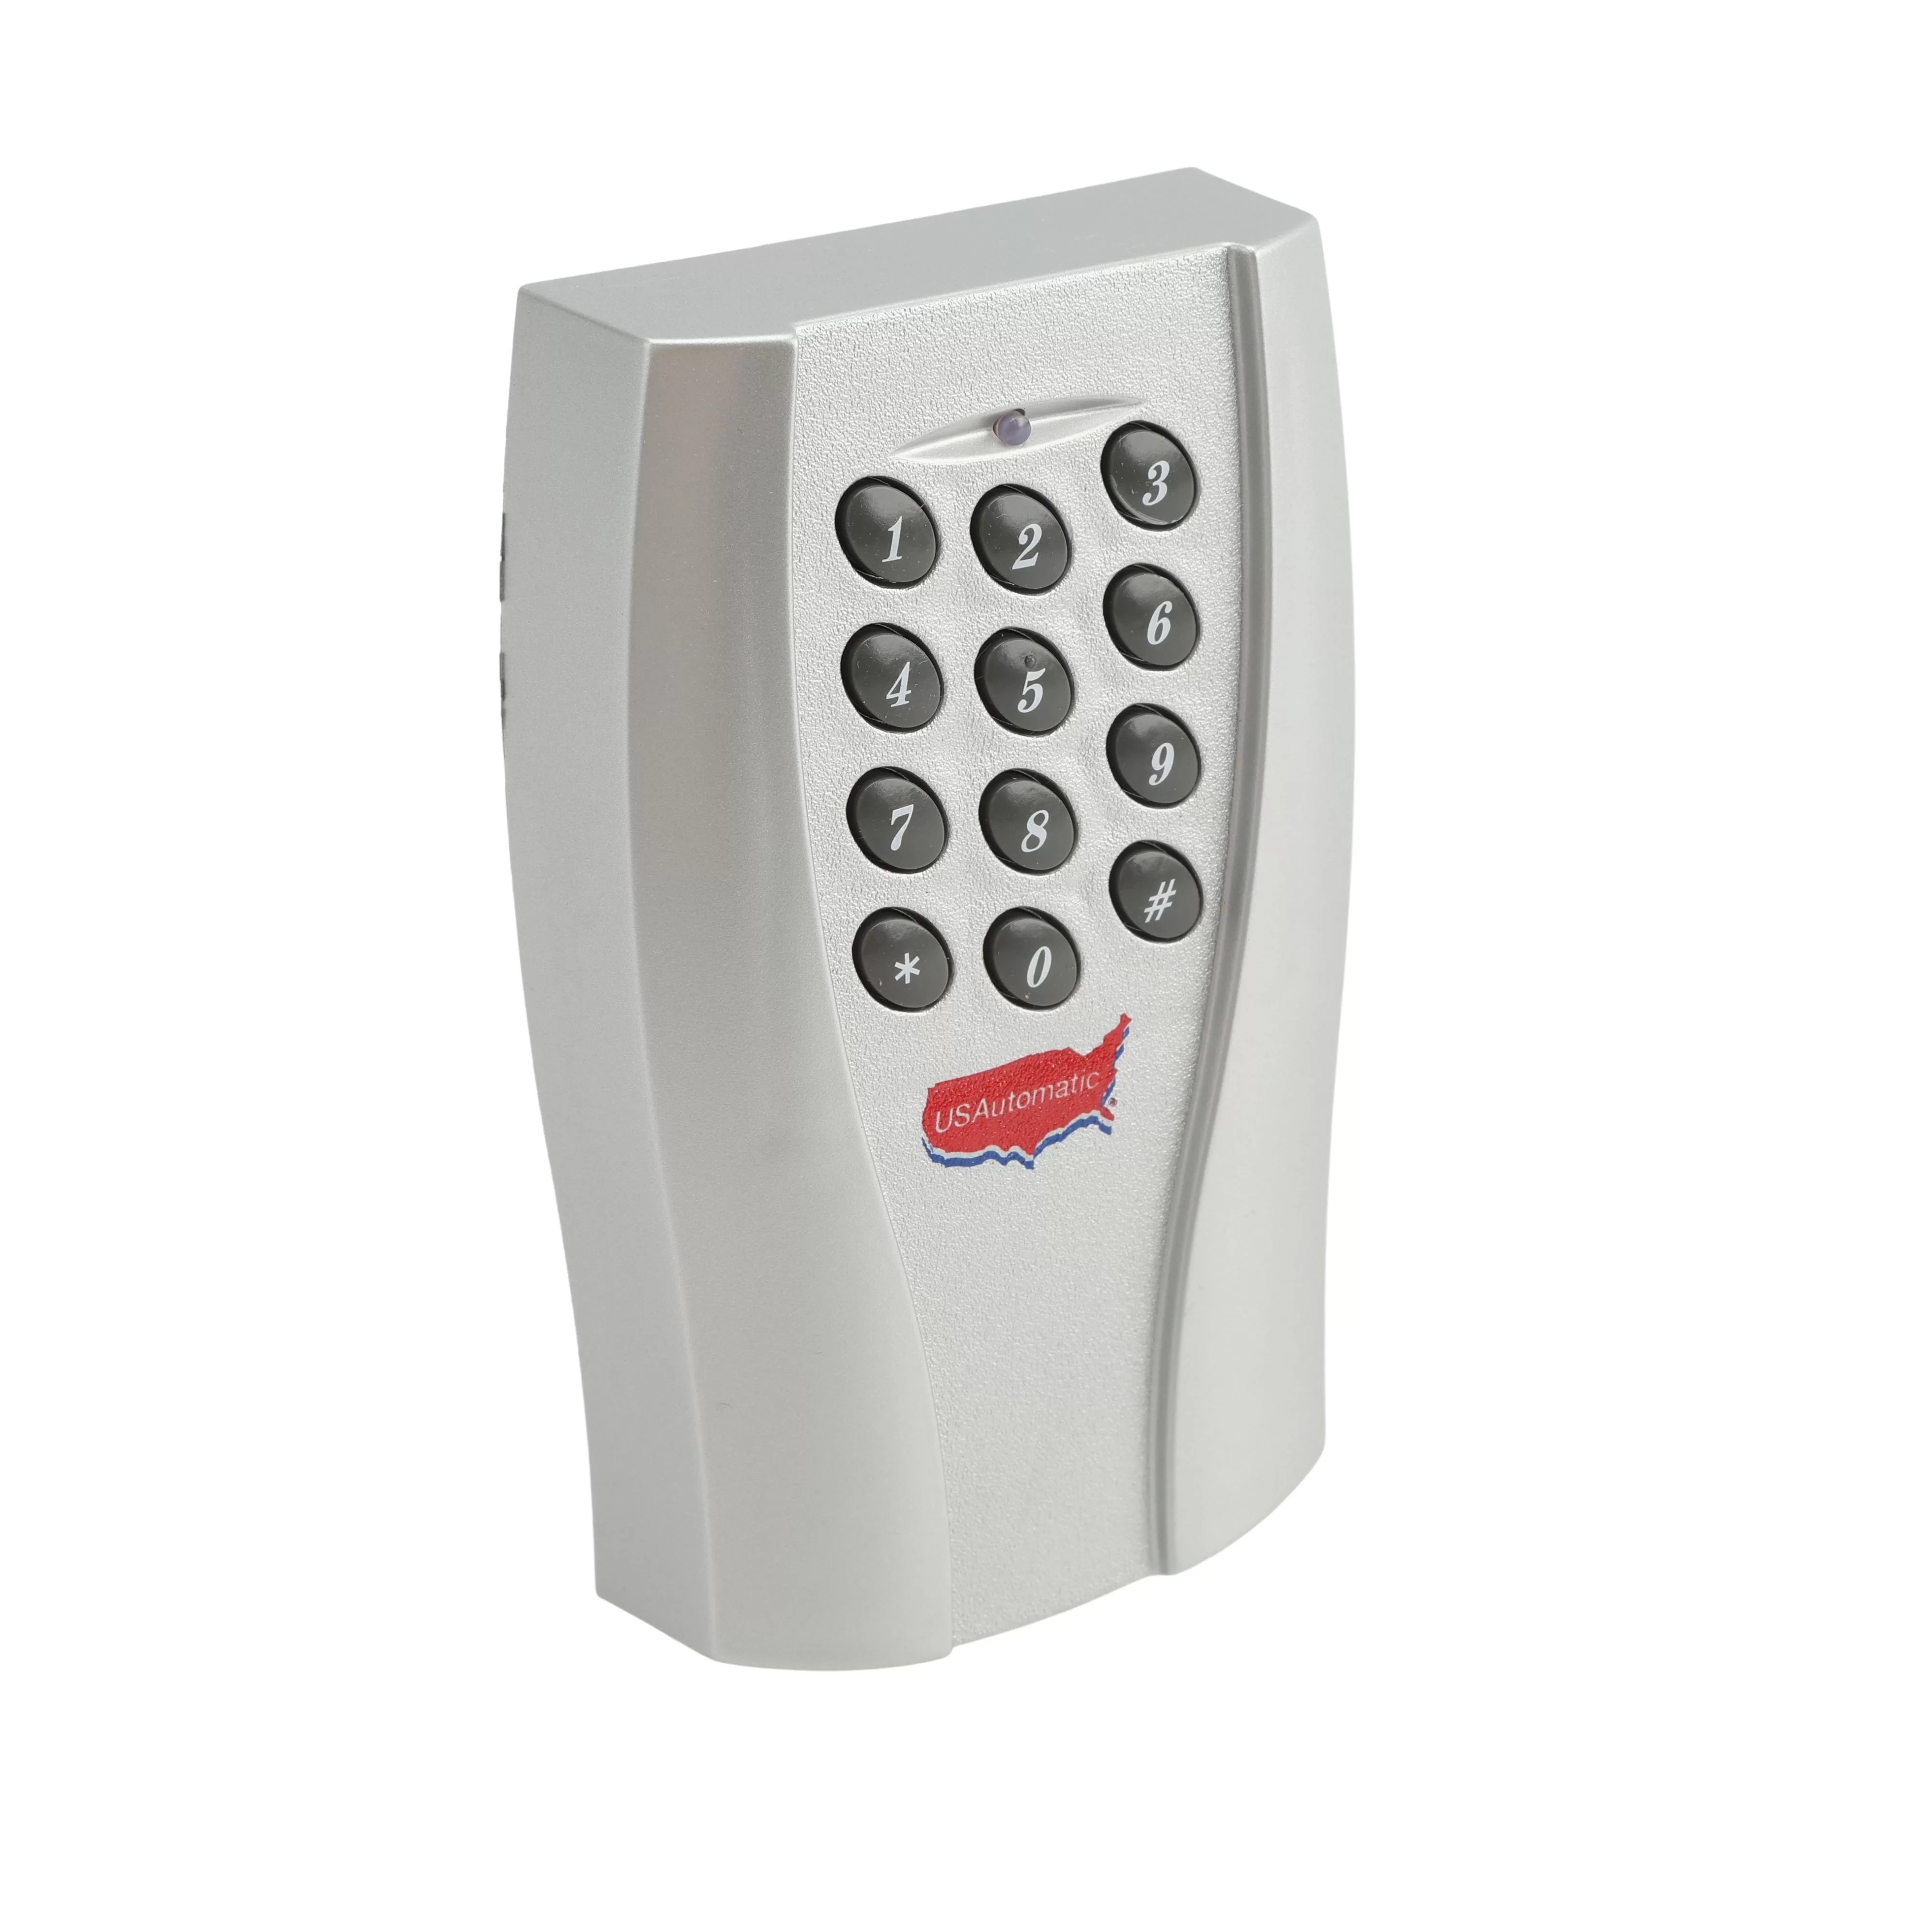
Before your keypad can open the gate, it must be introduced to the receiver. This process is called pairing. Before pairing, make sure that you have already:
- Set your Security Code so your keypad does not interfere with neighbors
- Created at least one Access Code (the code you punch in to open the gate)
Do not mount the keypad to the wall until pairing is complete. It is easier to carry it to the receiver.
Manual
Pair to Relay 1 (Main Gate Operation)
- Carry the keypad to your receiver location.
- Enter your Access Code for Relay 1, then continue holding the last key you pressed. The keypad's red light will blink.
- While holding that last key, press the P1 (Learn) button on the receiver until the LD (green) light comes on and the relay clicks.
- Release both buttons.
To test it, enter your Access Code normally. If done correctly, the gate should open.
Pair to Relay 2 (Optional; Free Exit/Hold Open)
- Create a second Access Code assigned to Relay 2 during keypad programming.
- Carry the keypad to the receiver.
- Enter your Relay 2 Access Code and continue holding the last key (red light blinks).
- Press the P2 (Learn) button on the receiver until the LD (green) light comes on and the relay clicks.
Please Note: P2 is factory wired for Open/Free Exit mode. If you want it to hold the gate open (latching mode), you must change the receiver's P2 setting first.
Troubleshooting
| Problem | Quick Fix |
|---|---|
| Red light does not blink | Replace the battery with a Lithium CR123A |
| Green light never comes on | Move closer to the receiver antenna and try again. |
| Gate does nothing after pairing | Your Security Code may not match the receiver. Reset it and re-pair. |
If you have any further questions, please reach out to our representatives. They are happy to help in any way they can!
Contact Us